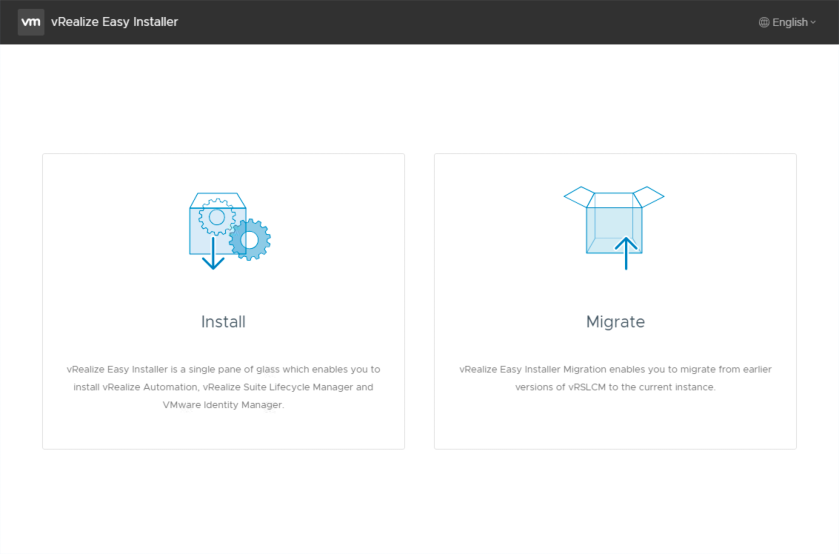
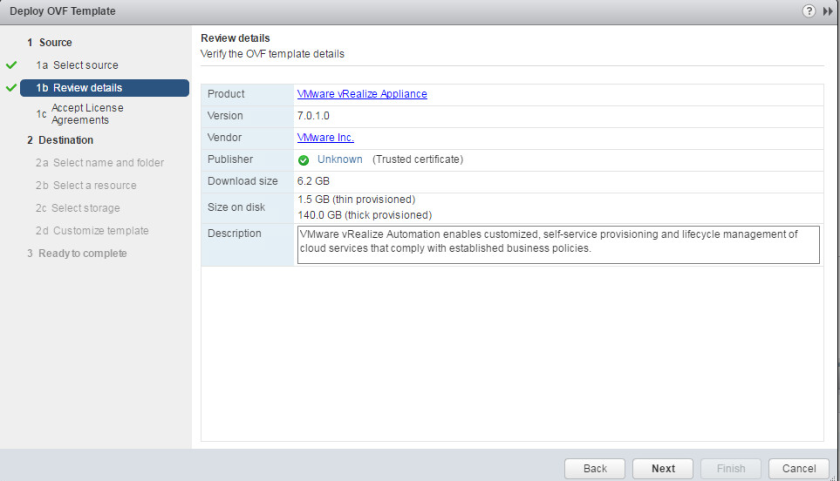
Following on from the vRA 7 Enterprise Deployment Part 4, this blog continues the series with the installation of the vRealize Automation Deployment Wizard to complete the Enterprise Deployment vRealize Automation. Since vRA 7.0 release, the vRA deployment wizard was introduced to complete the pre-requisite configuration and automated deployment of the vRA IaaS components. It is initiated by default after the deployment of a vRealize Automation appliance and can be accessed from primary vRA virtual appliance Virtual Appliance Management Interface (VAMI) on port 5480. You will need to logon as the root account and then you are presented with the vRA Deployment Wizard.
Installation Steps using the Installation Wizard
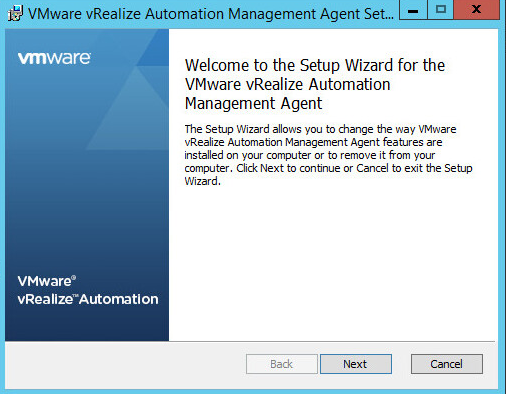
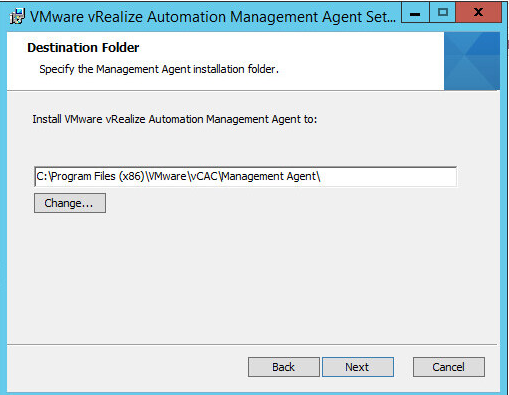
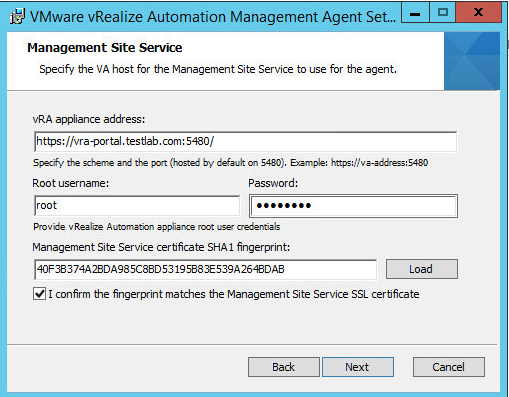
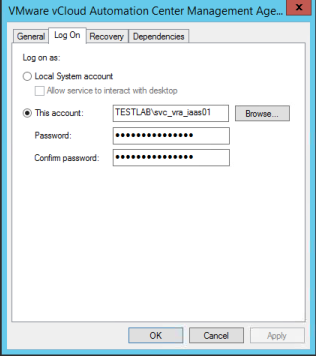
Log in to the first IaaS Web Server host with the domain service account that will be used to perform the installation and will also run the Windows service for the vCAC Management Agent.
Example first Web Server: vratestlab03.testlab.com
Example Domain Service Account: (testlab\svc_vra_iaas01) ensure member of local admins and remote desktop users
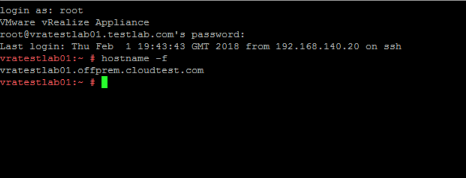
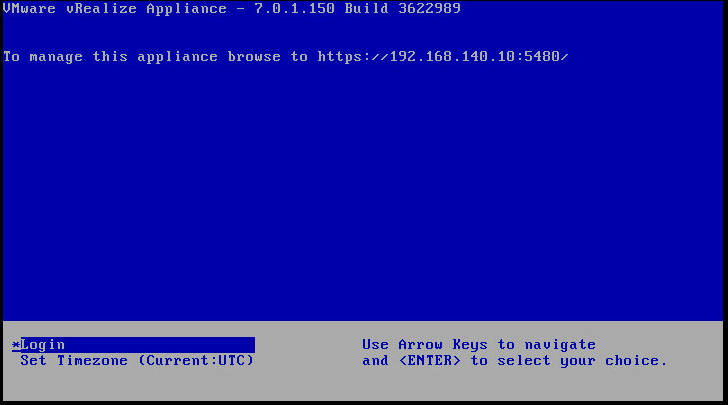
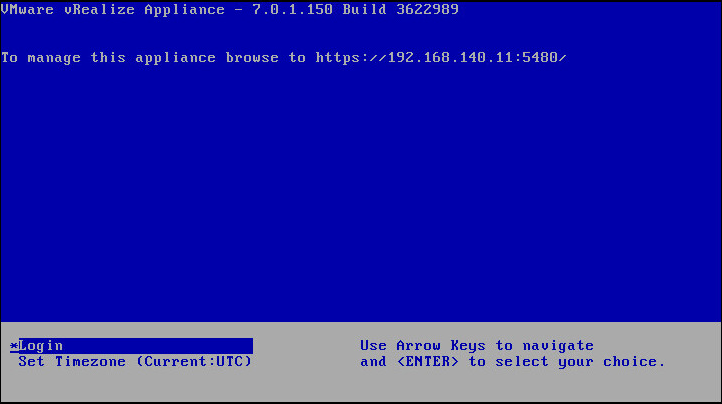
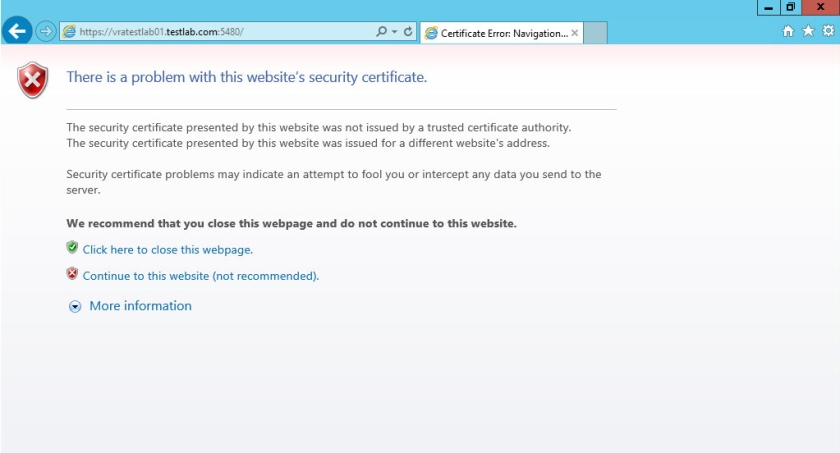
Go to the first deployed vRealize Automation appliance management console by opening a connection using its FQDN: https://vratestlab01.testlab.com:5480/
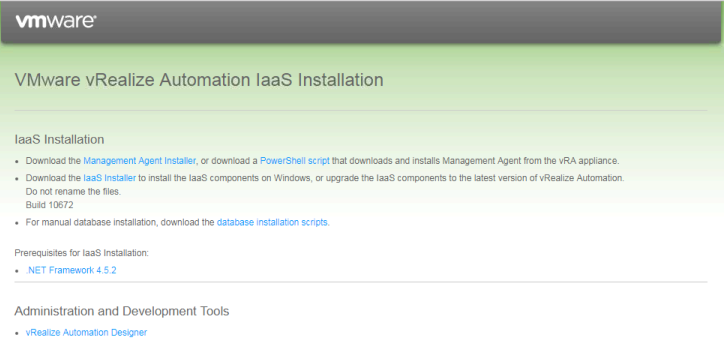
Note: You need to perform these steps on the first Windows Server you will use as the primary IaaS Web Server host, ensuring that the server has full network access to all vRealize Automation and IaaS Web, Manager, DEM, and Proxy Agent servers to perform the Management Agent installation.
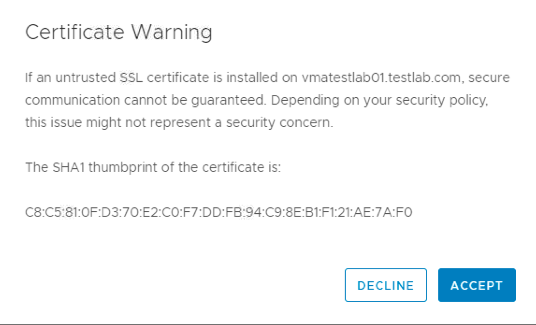
Click I Understand the Risks, and click Add Exception to accept the certificate.
Click Confirm Security Exception.
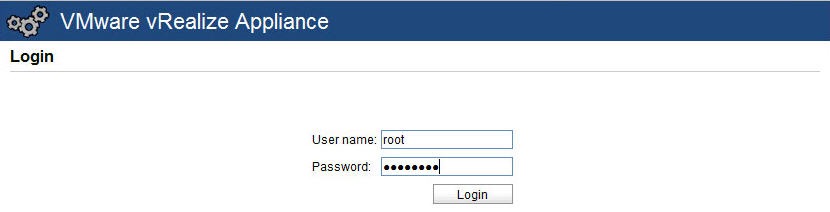
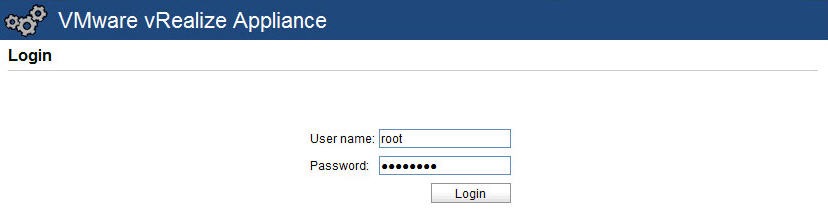
Log in using the user name root and the password you specified when you deployed the vRealize Automation appliance.
Click Login.

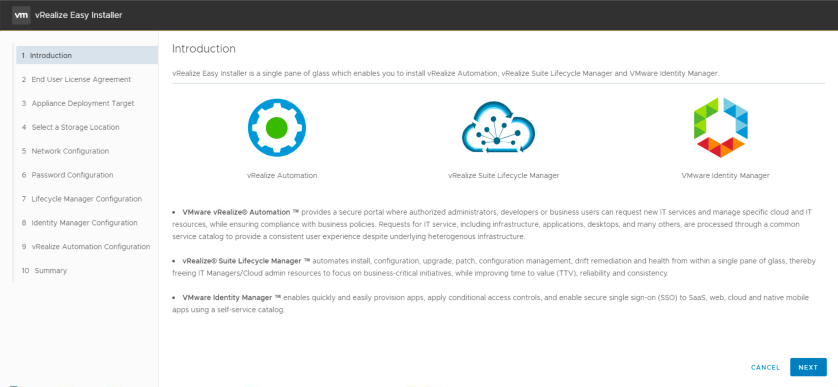
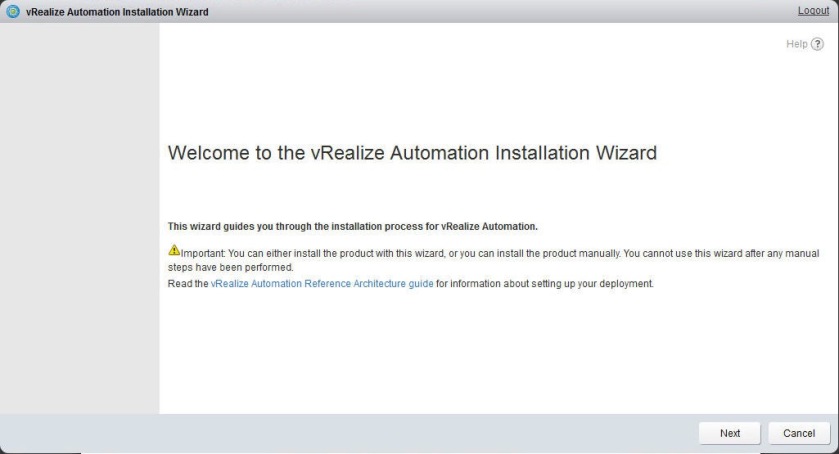
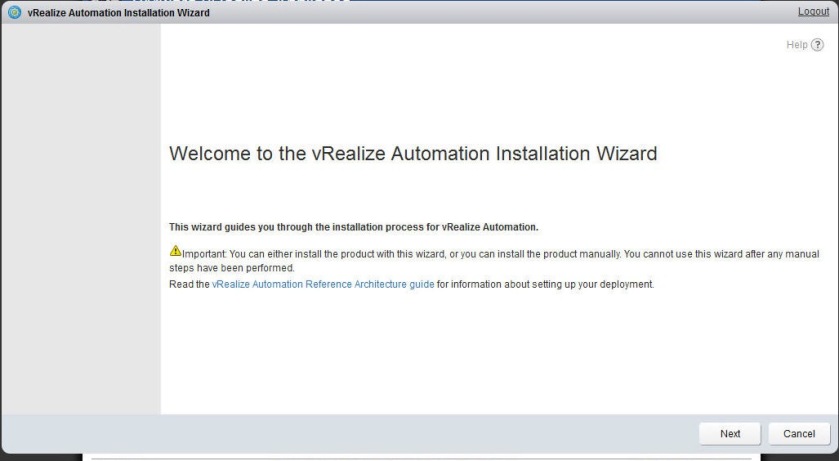
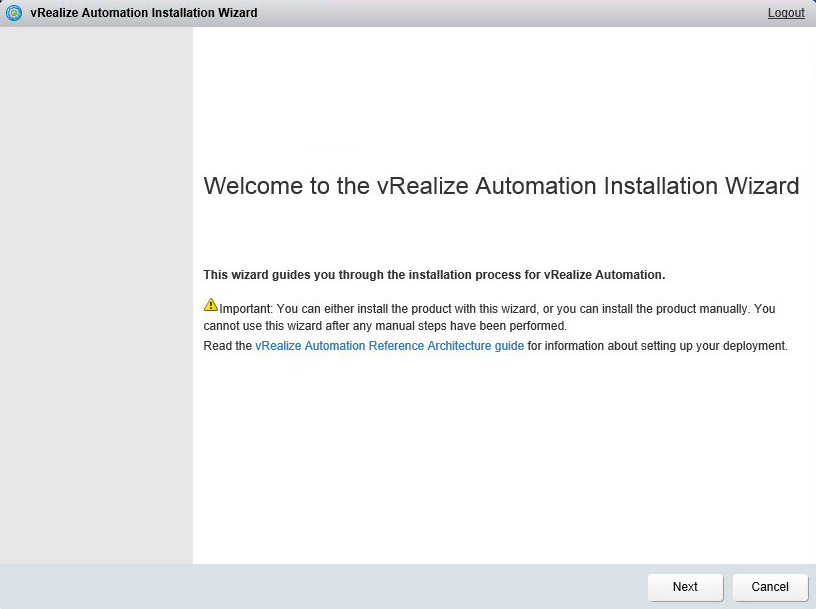
On the Welcome to the vRealize Automation Wizard page.
Click Next to continue.
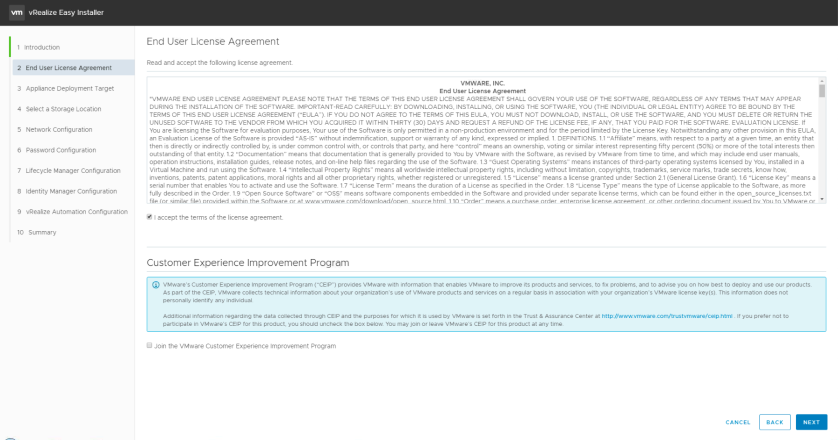
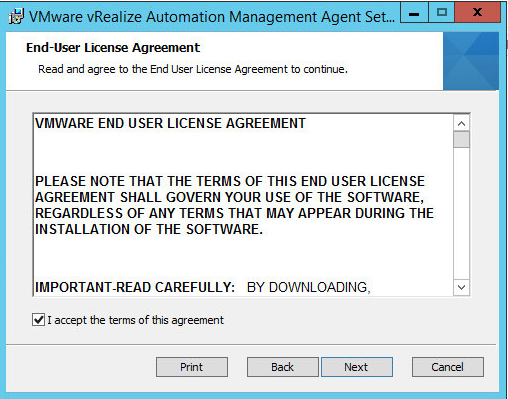
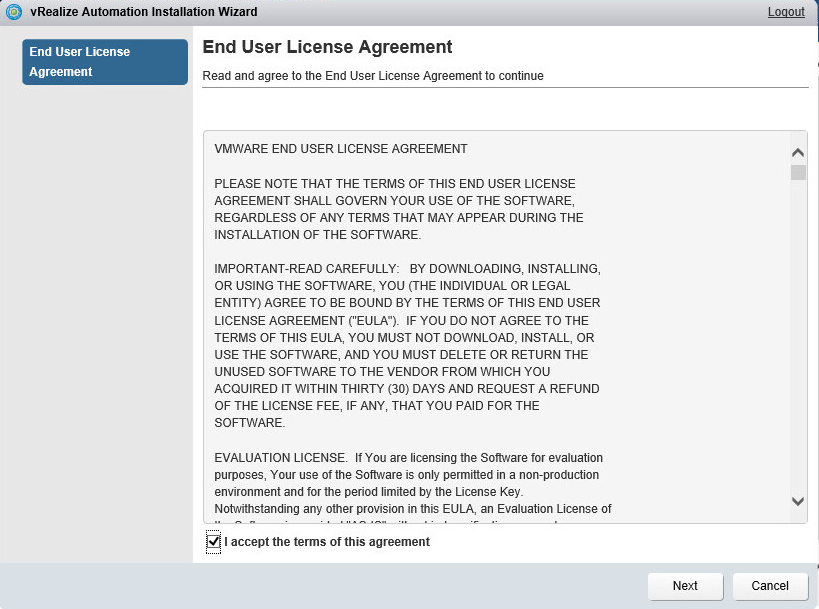
On the End User License Agreement page, click I accept the terms of this agreement.
Click Next to continue.
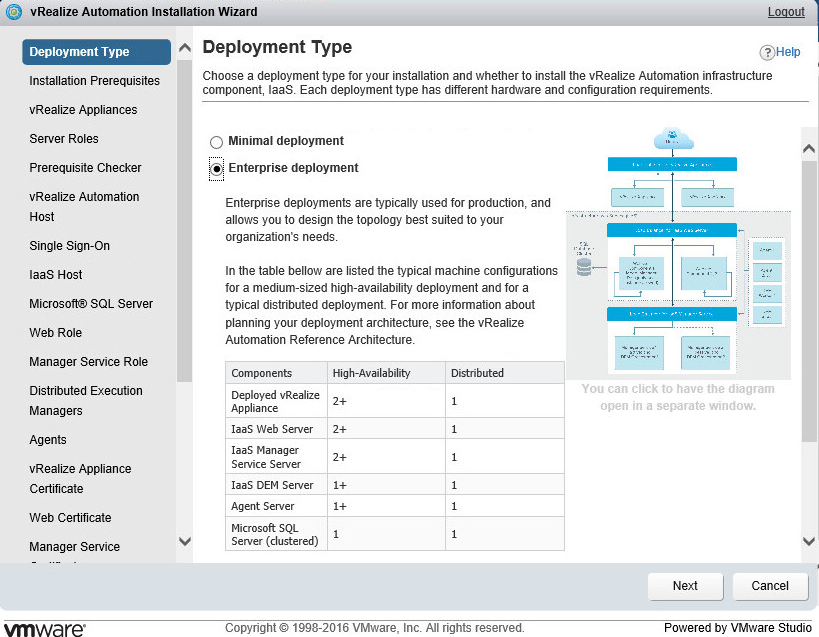
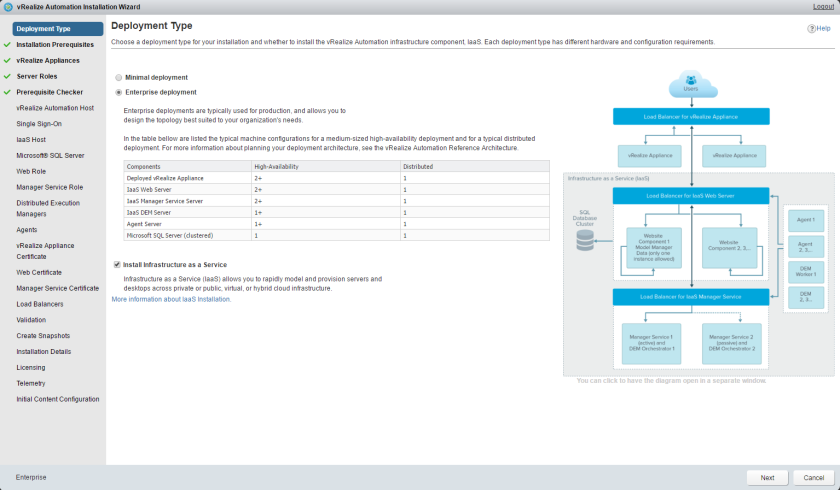
On the Deployment Type page, select the Enterprise deployment option.
Click Next to continue.
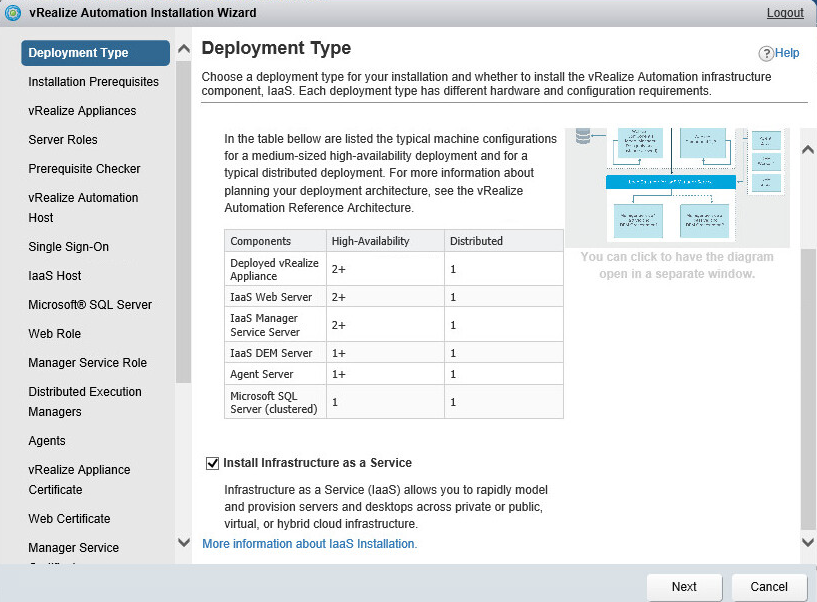
Ensure Install Infrastructure as a Service is selected
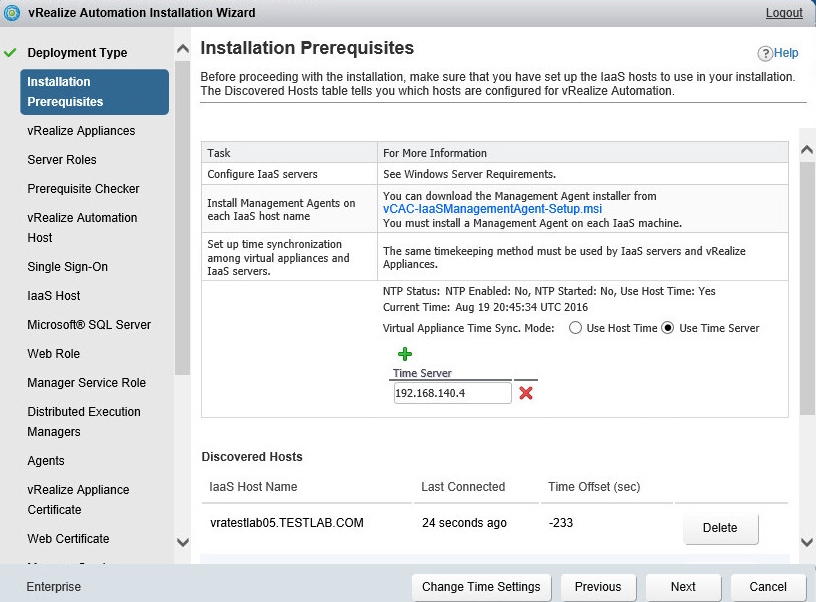
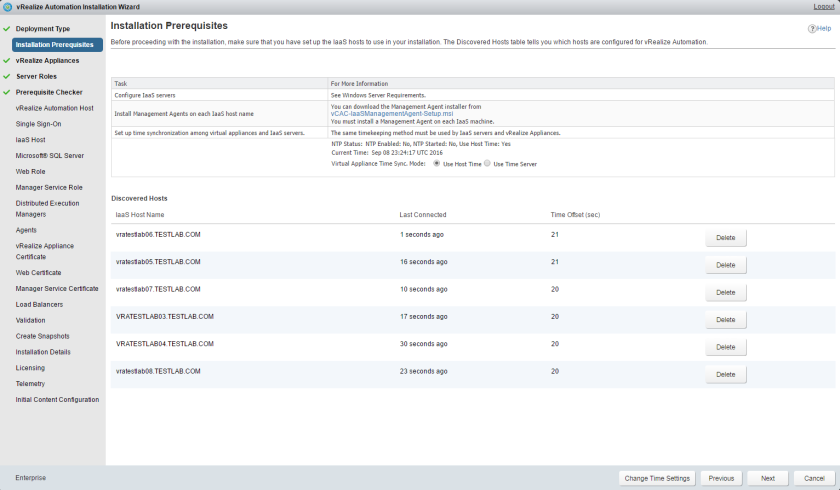
On the Installation Prerequisites page:
Select one of the appropriate NTP time synchronization options to use among virtual appliances and IaaS servers. For the Virtual Appliance Time Sync. Mode, choose between the Use Host Time or Use Time Server radio button options.
Click Change Time Settings to save the time synchronization method.
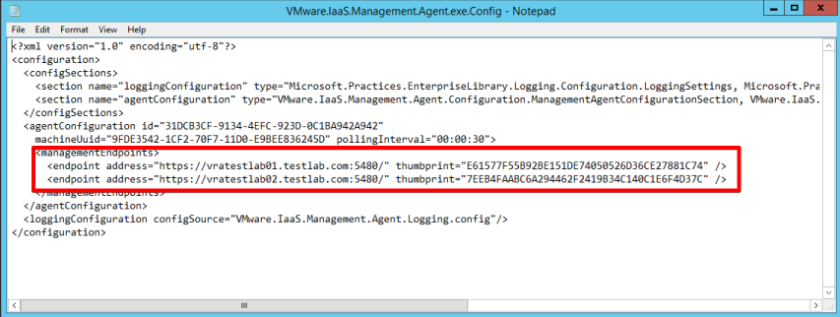
Check that the list of IaaS Server host names matches those in the IaaS Management Agent Deployment Information table.
Note: If one of the Windows servers does not appear in the list of IaaS Host Name and does not show it is connected, do not proceed with the installation until the problem is identified and resolved with the IaaS Management Agent. When all Windows servers with IaaS Management Agents report as connected, proceed with the vRealize Automation Installation Wizard.
Click Next.
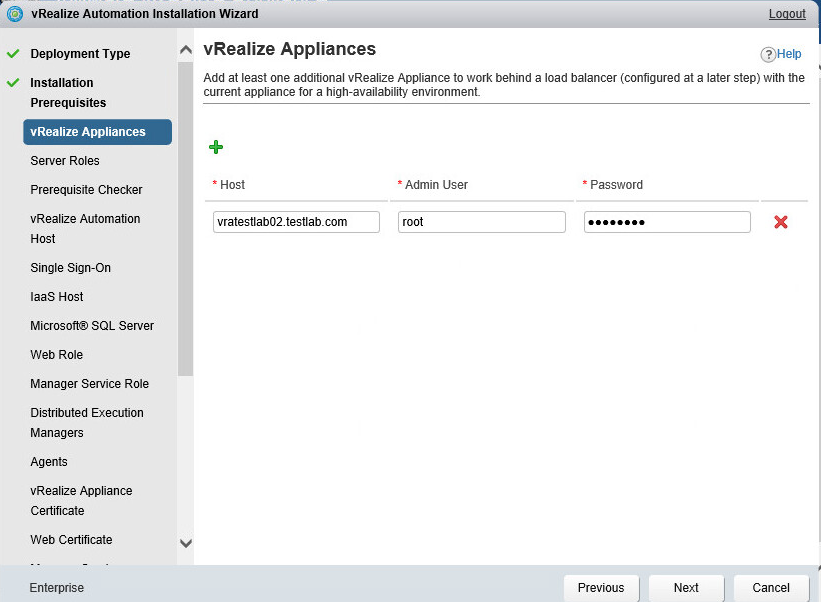
On the vRealize Appliances page:
Click the green  to add the second vRealize Automation Appliance:
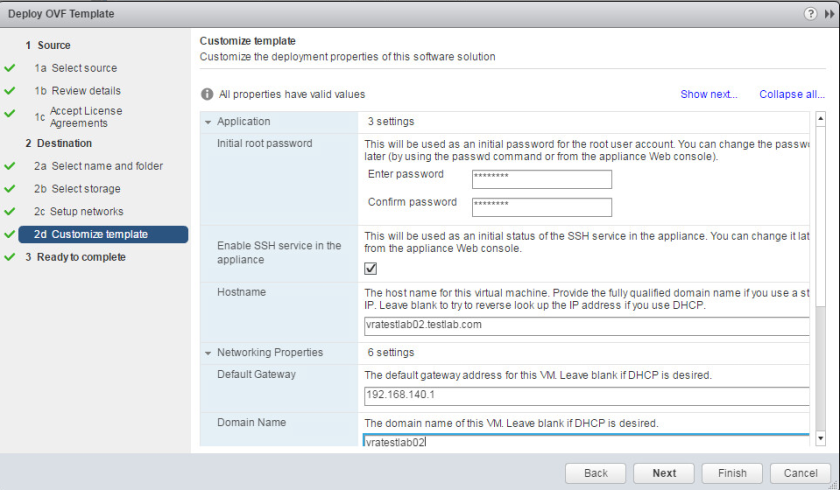
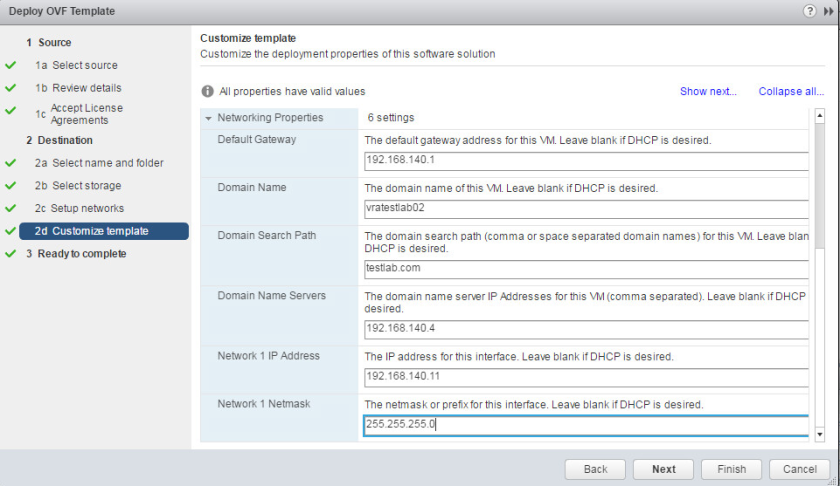
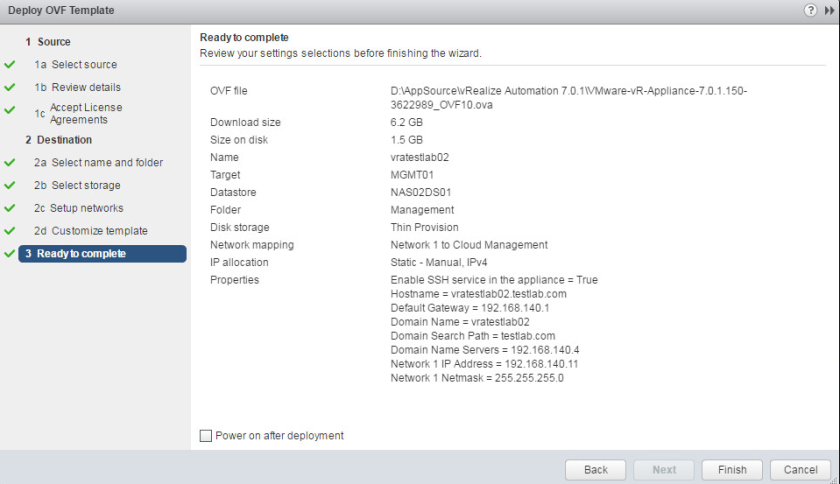
Host: Example: vratestlab02.testlab.com
Admin User: root
Password: Enter your root password
Click Next to continue.
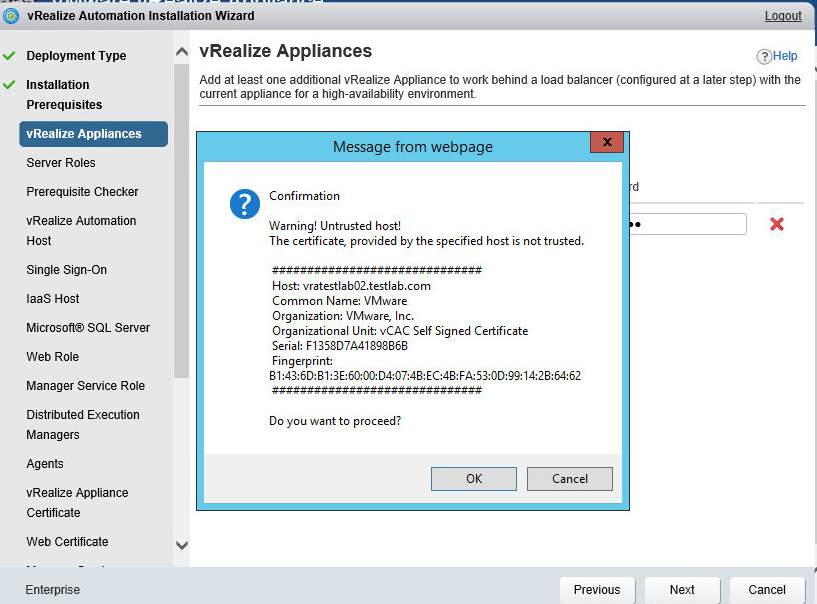
Click OK to proceed after the warning for untrusted host message is displayed.
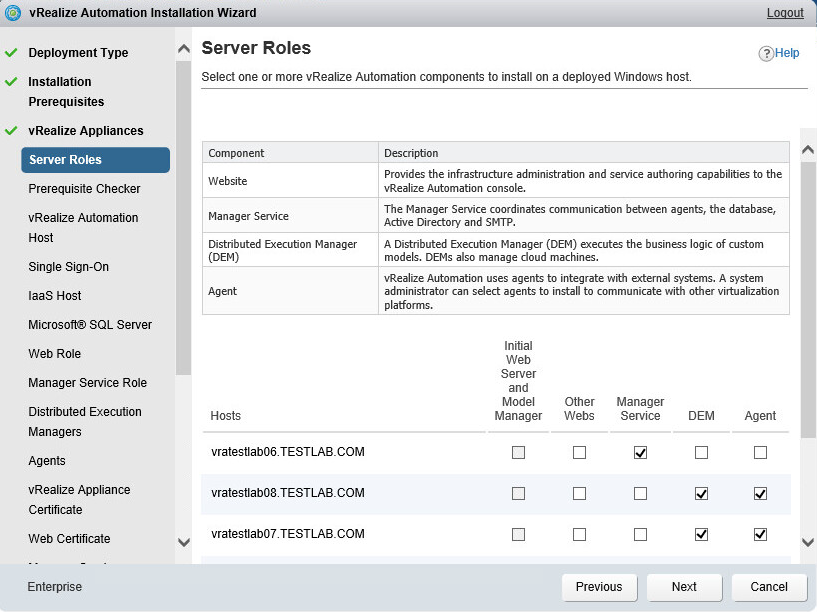
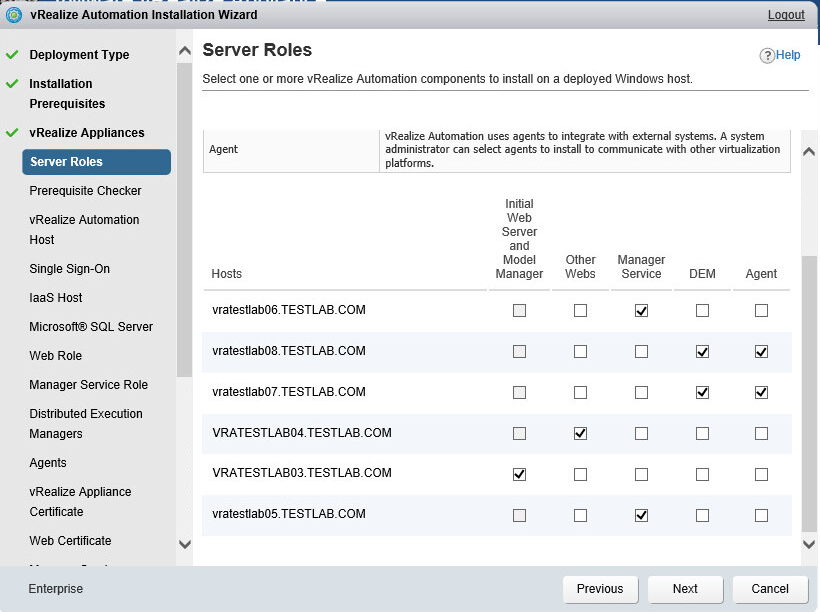
On the Server Roles page, check off the following server roles applicable to the vRealize Automation high availability deployment:
Primary Web (with Model Manager data) Service:
<vratestlab03.testlab.com>
Other Webs:
<vratestlab04.testlab.com>
Manager Service:
- <vratestlab05.testlab.com>
- <vratestlab06.testlab.com>
DEM & Proxy Agent:
- <vratestlab07.testlab.com>
- <vratestlab08.testlab.com>
Click Next to continue.
On the Pre-requisite Checker page, click Run.
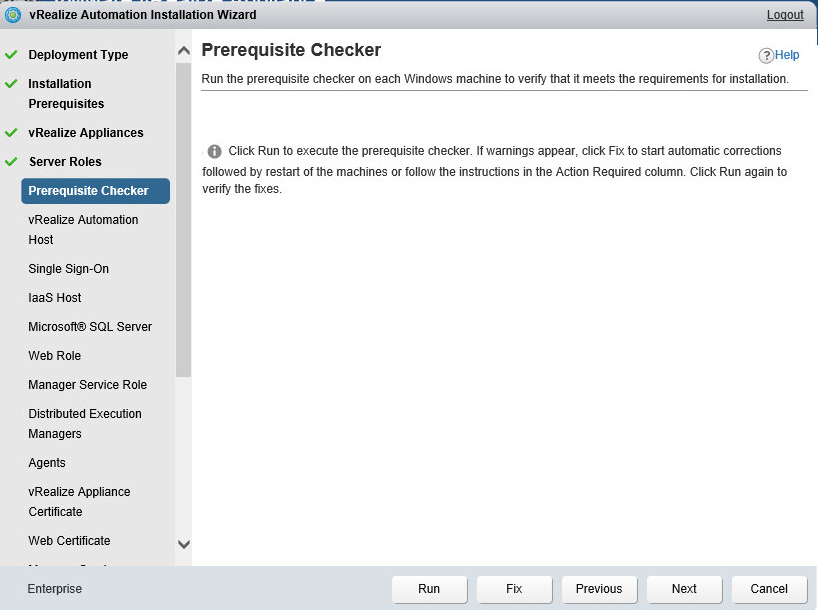
The prerequisite checker will check for installation prerequisites and display the validation results on the Pre-requisite Checker page.
Wait for the prerequisite checker Status to reflect the validation status by changing from pending to Ok.
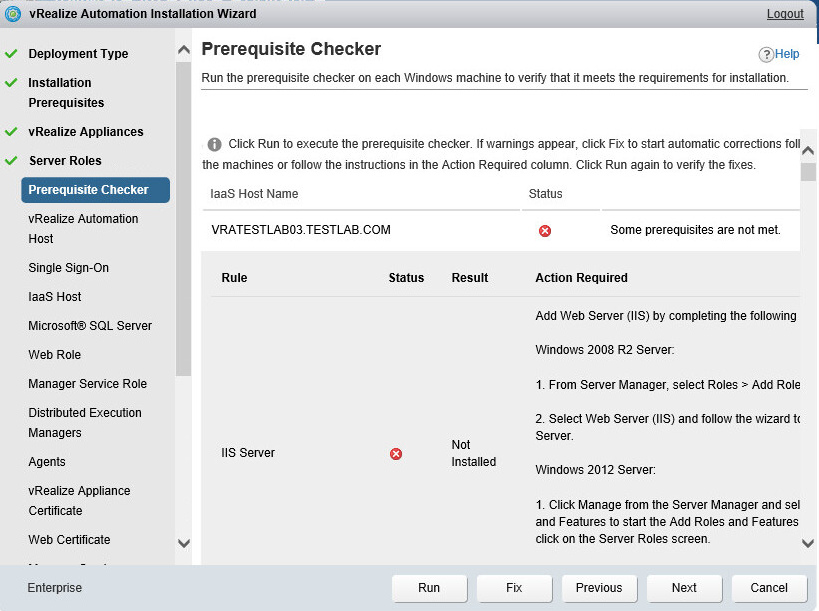
After the prerequisites checker validation has completed, verify that the status is reported as OK for all IaaS hosts.
For any IaaS hosts that report prerequisites are not met, click Show Details to expand the view and show the Action required to fix the prerequisites
Click the Hide Details link to collapse the Show Details view.
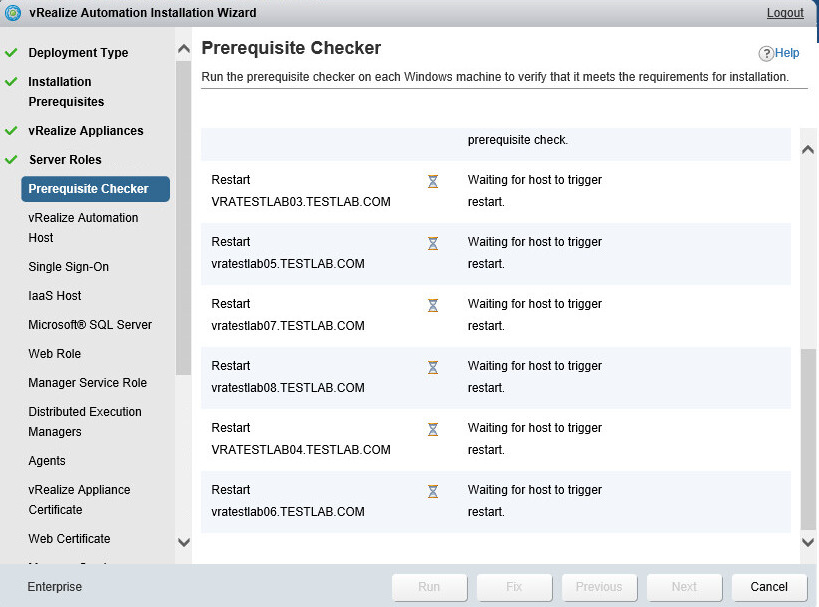
Click Fix to allow the prerequisites checker to perform any required fixes.
A Loading message will be displayed while the background processes start to fix the reported prerequisite issues.
On the Prerequisites Checker page, wait for the prerequisites checker to complete the fix for each IaaS Host in the IaaS Host Name list.
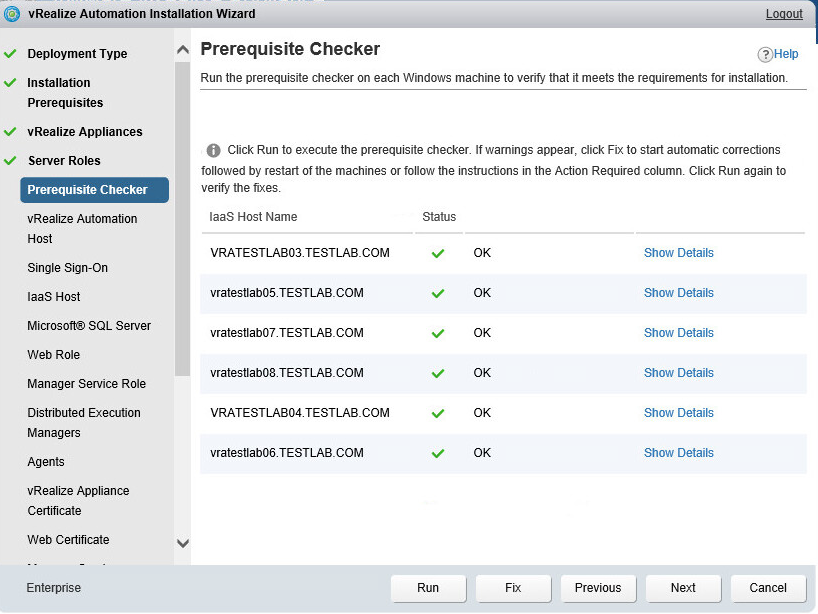
After the prerequisites checker has completed all fixes to IaaS hosts, the Status column should report OK with all green check marks.
Click Next to continue.
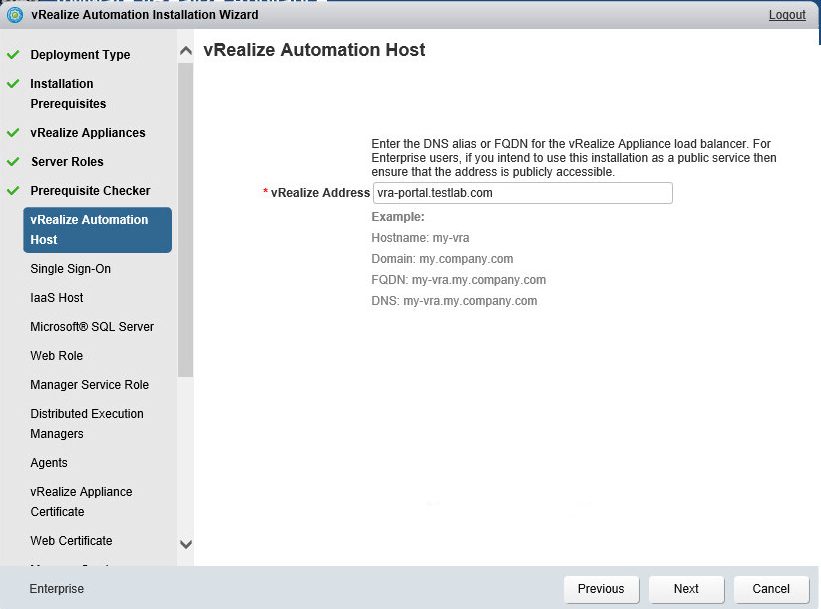
On the next vRealize Automation Host page, enter the vRealize Address that is the DNS Alias or FQDN of the vRealize Automation Load Balancer.
DO NOT CLICK NEXT AT THIS POINT!
You must first create the DNS Alias (CNAME) in DNS (before proceeding) if the initial deployment is not already configured with a load balancer, but you plan to configure the load balancer after the installation is completed.
If, at this point in the deployment a load balancer is introduced, verify that the load balancer VIPs and monitors are configured correctly.
Ensure you have setup your load balancer as per the vRA Load Balancing guide and test resolution of your DNS records.
vRealize Automation Load Balancing
Click Next to continue.
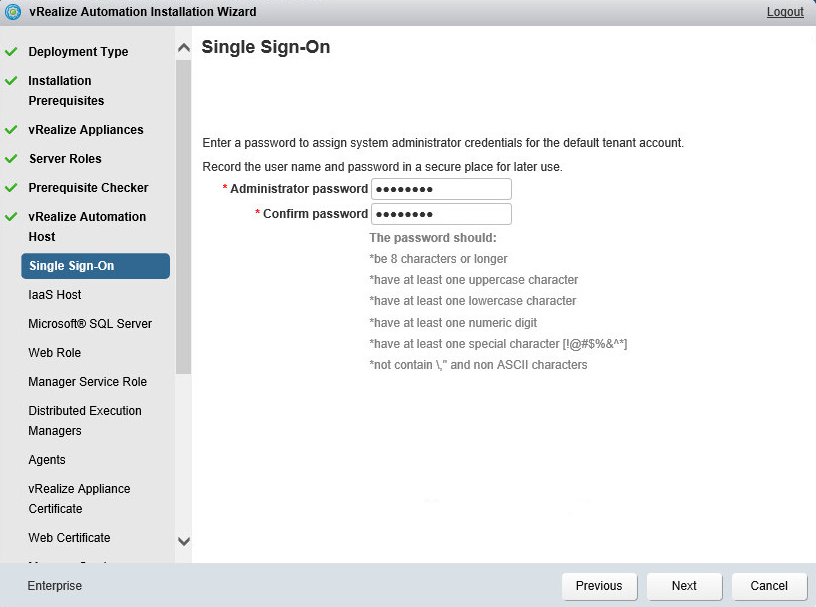
On the Single Sign-On page, enter the following:
- Administrator password: <password>
- Confirm password: <password>
Click Next to continue.
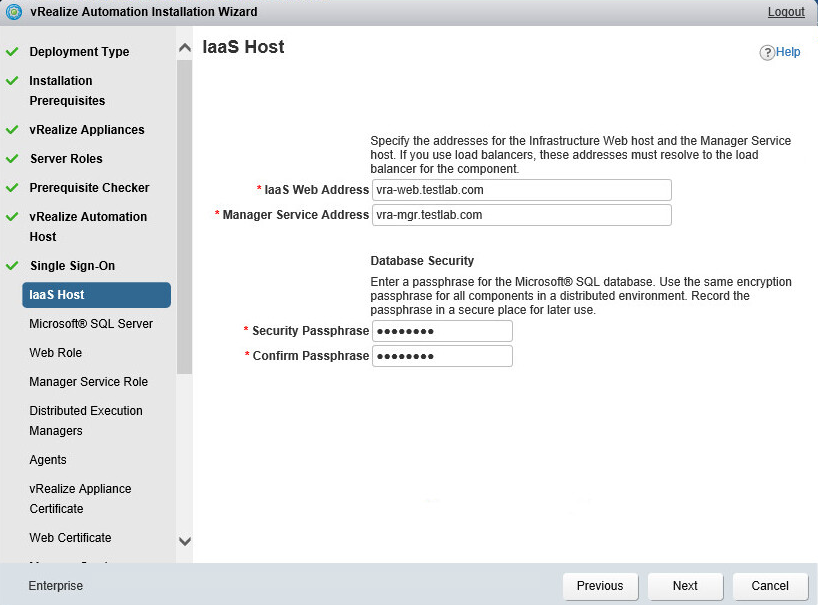
On the IaaS Host page, enter the following:
IaaS Web Address: <web-service load balancer address FQDN>
For example: vra-web.testlab.com
Manager Service Address: <vra-manager service load balancer address FQDN>
For example: vra-mgr.testlab.com
Security Passphrase: <passphrase>
Confirm Passphrase: <passphrase>
Click Next to continue.
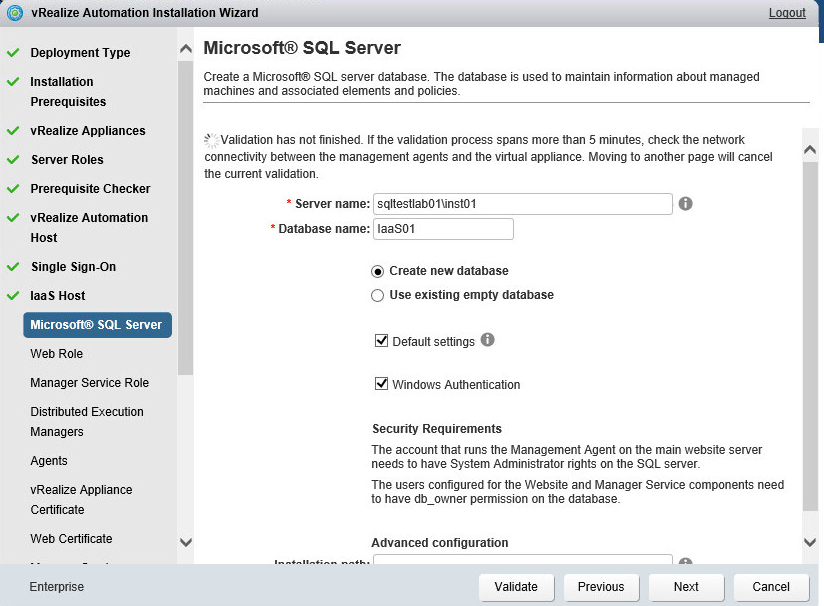
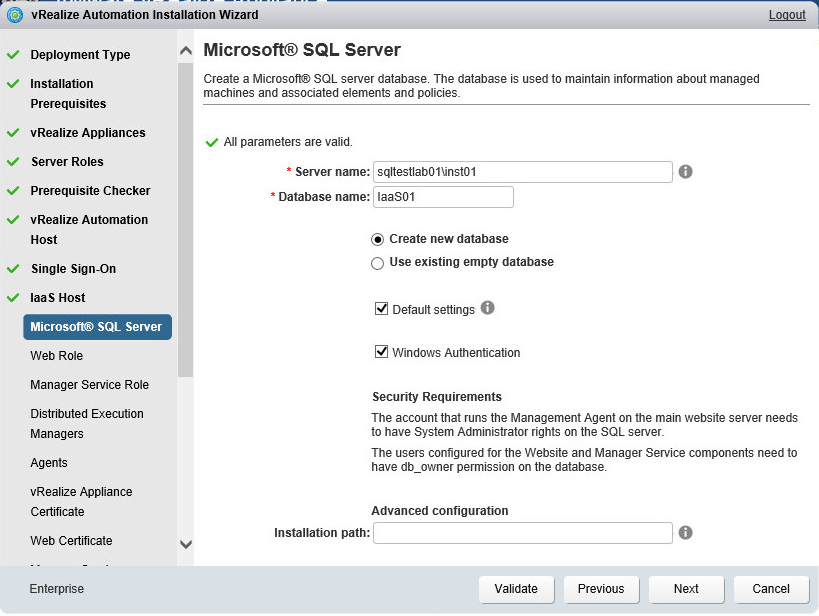
On the Microsoft SQL Server page, enter the following:
Server name: <sqlserver\instance>
For example: sqltestlab01\inst01
Database name: <dbname>
For example: IaaS01
Select the Windows Authentication check box.
Note: If your SQL server uses SSL certificates, deselect Default settings for further configuration options.
Click Validate to verify Microsoft SQL Server connectivity and permissions to create the database.
After the validation is successful, a green check mark will appear, indicating all parameters are valid.
Click Next to continue.
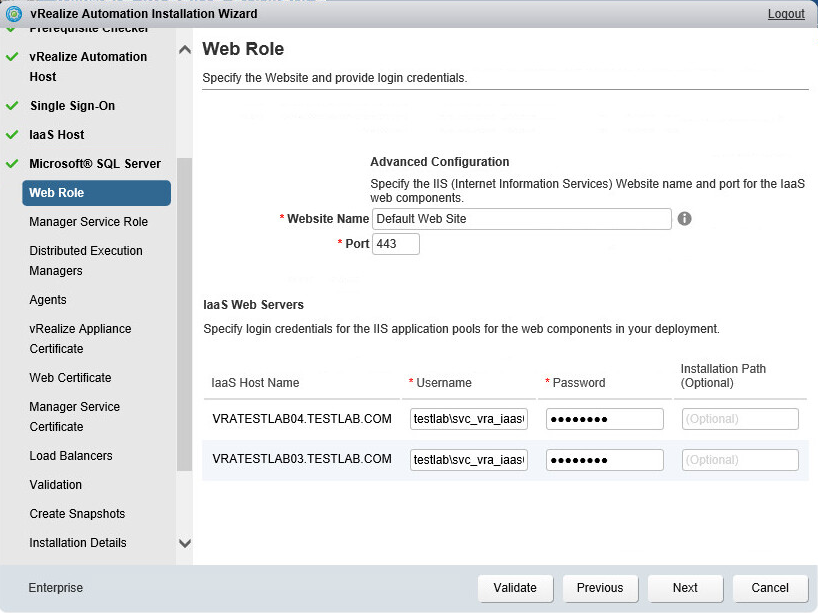
On the Web Role page, enter the following:
Website Name: <Default Web Site>
Example: Default Web Site
Port: <443>
Example default port: 443
In the IaaS Web Servers section of the page, enter the following information for all of the IaaS hosts listed:
Username: testlab\svc_vra_iaas01
Password: <password>
Installation Path: <optional>
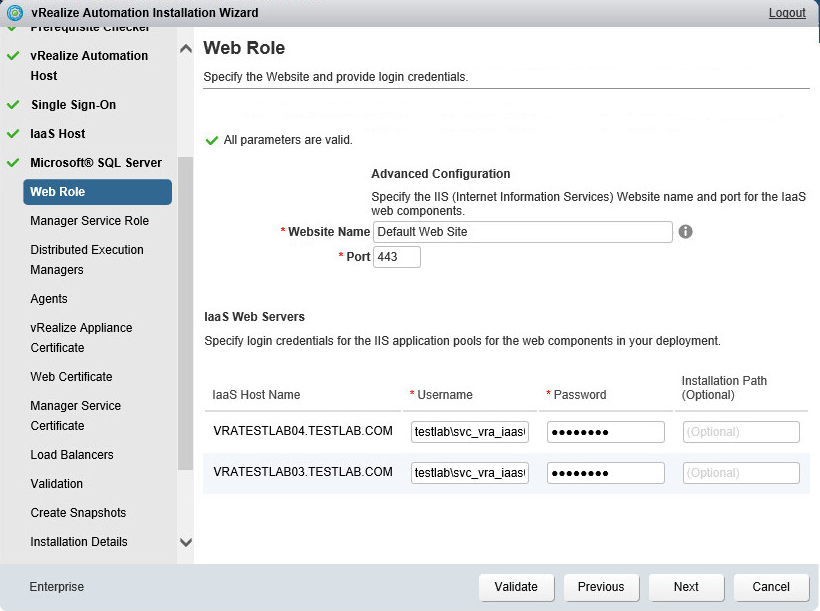
Click Validate to validate the authentication to the IaaS Web Server hosts.
After the validation is successful, a green check mark will appear indicating that all parameters are valid.
Click Next to continue.
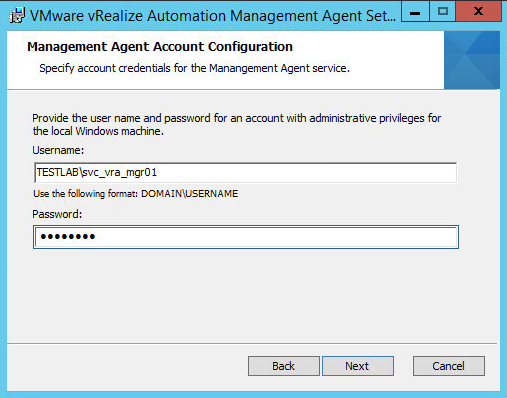
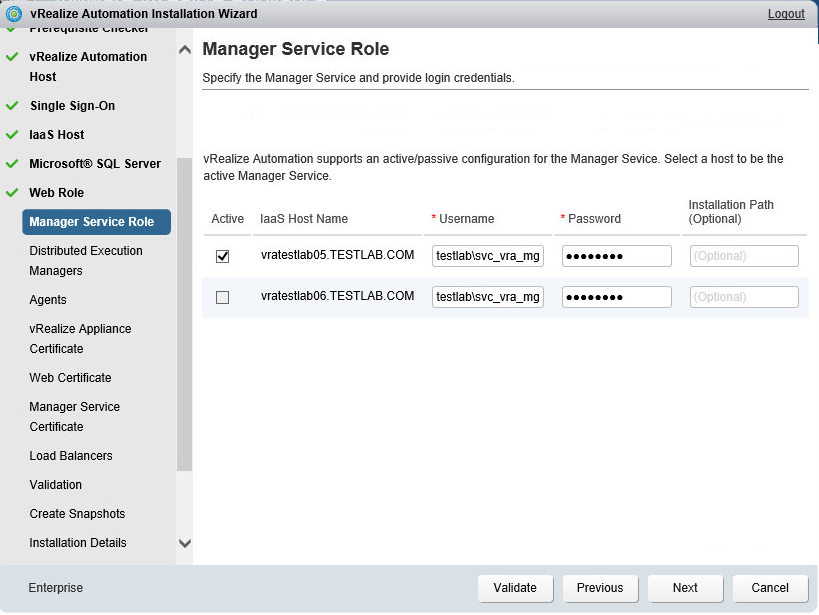
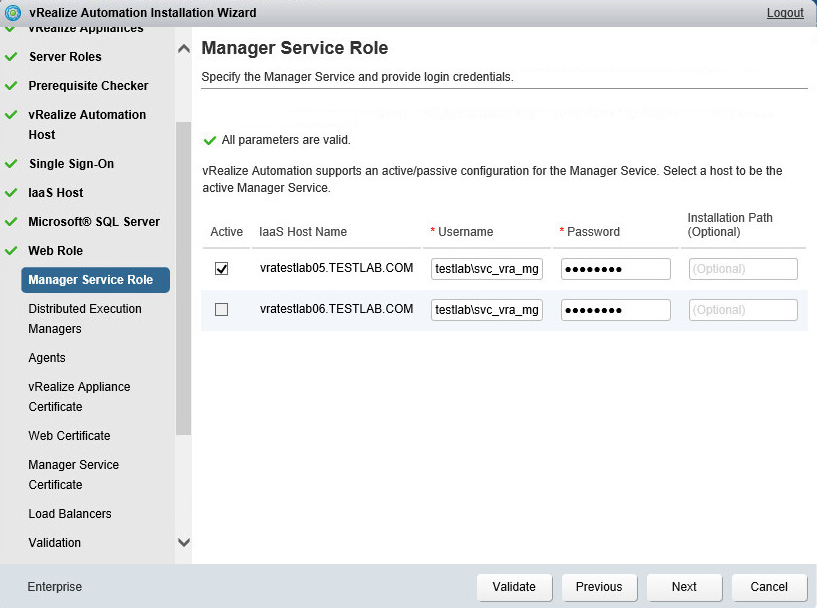
On the Manager Service Role page, enter the following:
Select the Active checkbox box for the Manager service role corresponding to an IaaS hostname,
Example: vratestlab05.testlab.com
Username: testlab\svc_vra_mgr01
Password: <password>
Installation Path: <optional>
Click Validate to validate the authentication to the IaaS Manager Service Hosts.
After the validation is successful, a green check mark will appear indicating that all the parameters are valid.
Click Next to continue.
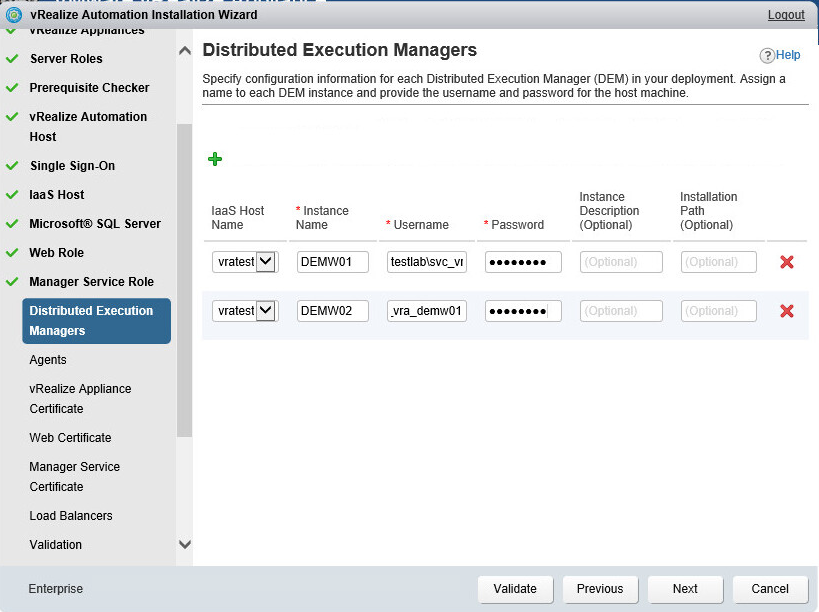
On the Distributed Execution Managers page, enter the following:
(Optional) Select the Green plus sign to add more Distributed Execution Manager hosts.
Select the IaaS host name service role from the drop-down,
Example: vratestlab07.testlab.com
Username: testlab\svc_vra_demw01
Password: <password>
Installation Description: <optional>
Installation Path: <optional>
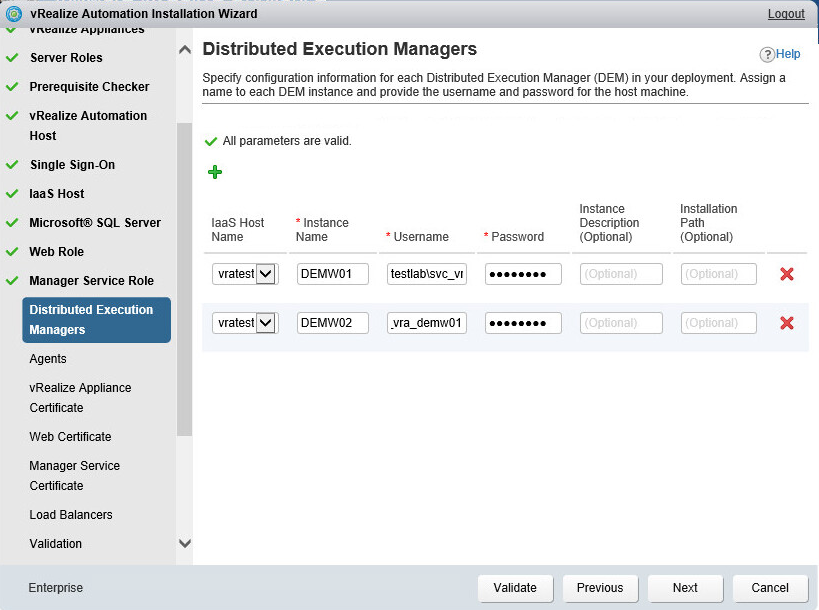
Click Validate to validate the authentication to the IaaS DEM hosts.
After the validation is successful, a green check mark will appear indicating that all parameters are valid.
Click Next to continue.
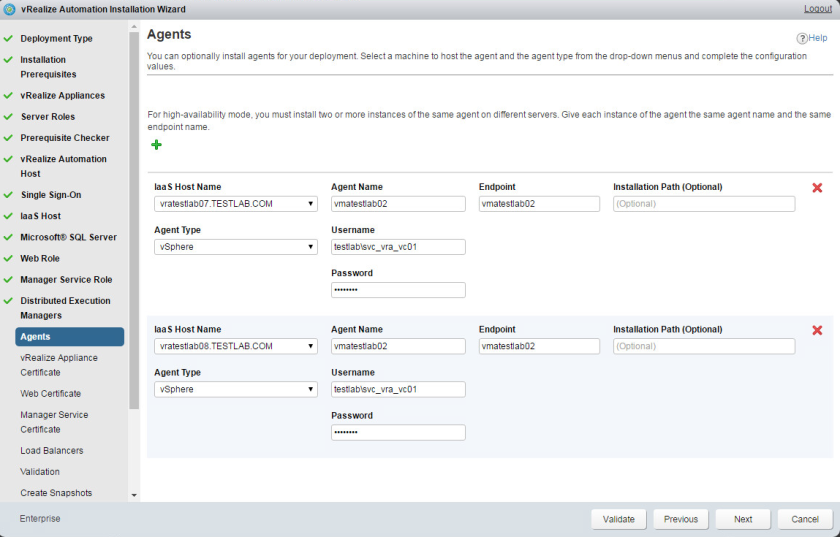
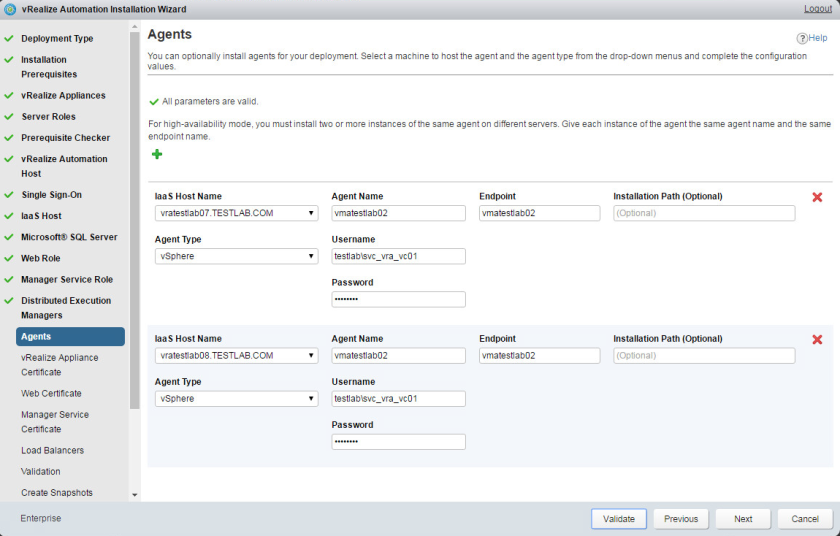
On the Agents page, enter the following:
(Optional) Select the Green plus sign to add more Agent hosts.
Select the IaaS Host Name service role from the drop-down,
Example: vratestlab07.testlab.com
Select the Agent Type from the drop-down, for example: vSphere
Agent Name: vmatestlab02
Endpoint: vmatestlab02
Installation Description: <optional>
Username: testlab\svc_vra_vc01
Installation Path: <optional>
Note: Ensure the Agent Name and Endpoint name match.
Click Validate to validate the authentication to the IaaS DEM hosts.
After the validation is successful, a green check mark will appear indicating that all parameters are valid.
Click Next to continue.
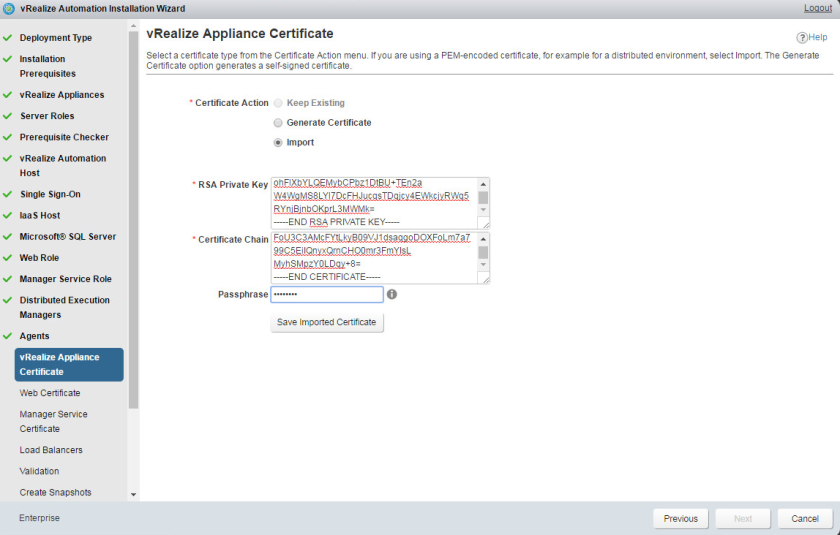
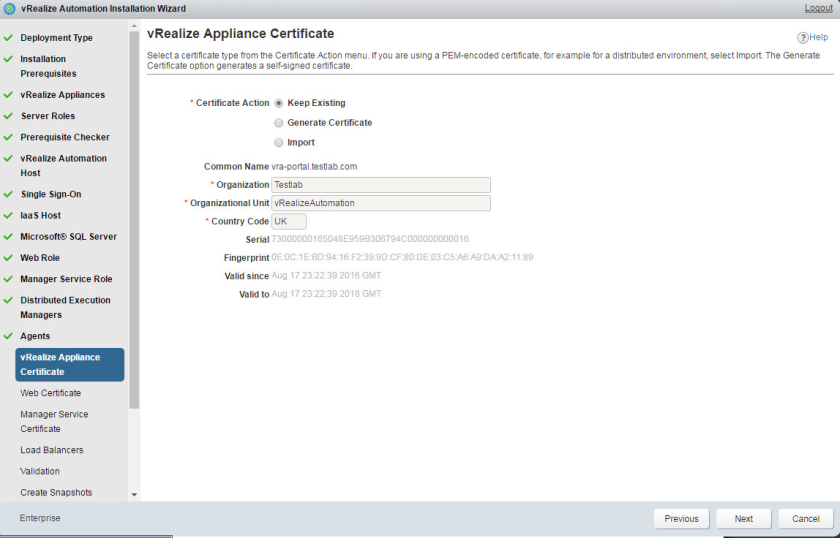
On the vRealize Appliance Certificate page, select Import for the PEM-encoded certificate generated from a certificate authority for the vRealize Automation Appliance.
Open the vra-portal.key file for your vRealize Automation appliances in a text editor and paste the contents of the file into the RSA Private Key text box.
Open the vra-portal.pem file for your vRealize Automation appliances in a text editor and paste the contents into the Certificate Chain text box.
Enter the password used when generating the certificates into the Pass Phrase text box.
Click Save Imported Certificate.
Click Next to continue.
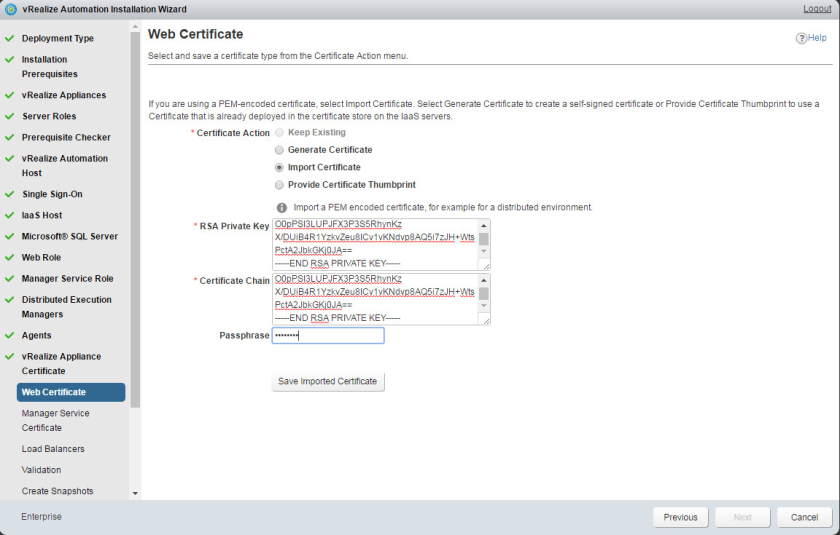
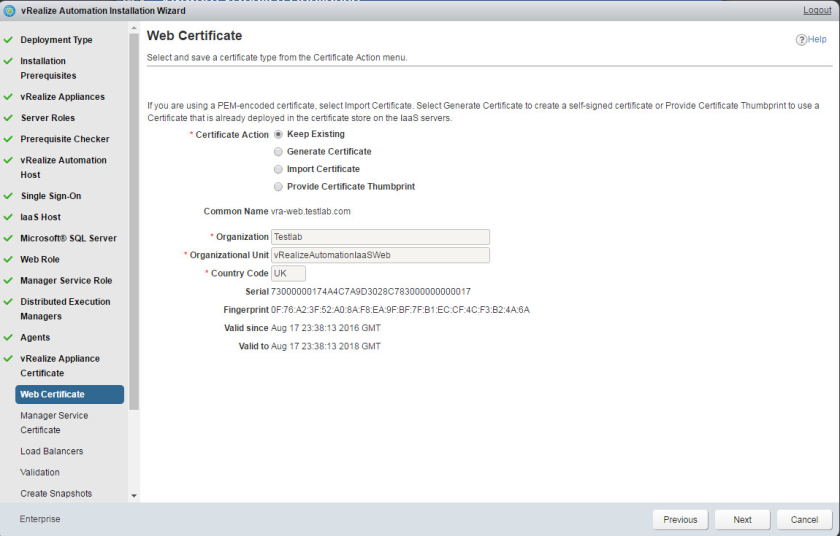
On the Web Certificate page, select Import Certificate for the PEM-encoded certificate generated from a certificate authority for the vRealize Automation IaaS Web Server hosts.
Open the vra-web.key file for your IaaS Web Server hosts in a text editor and paste the contents of the file into the RSA Private Key text box.
Open the vra-web.pem file for your IaaS Web Server hosts in a text editor and paste the contents into the Certificate Chain text box.
Enter the password used when generating the certificates into the Pass Phrase text box.
Click Save Imported Certificate.
Click Next to continue.
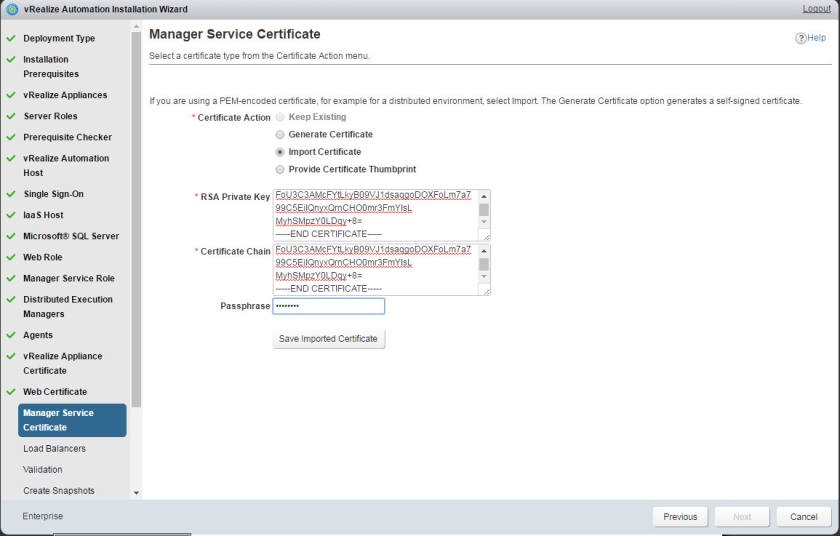
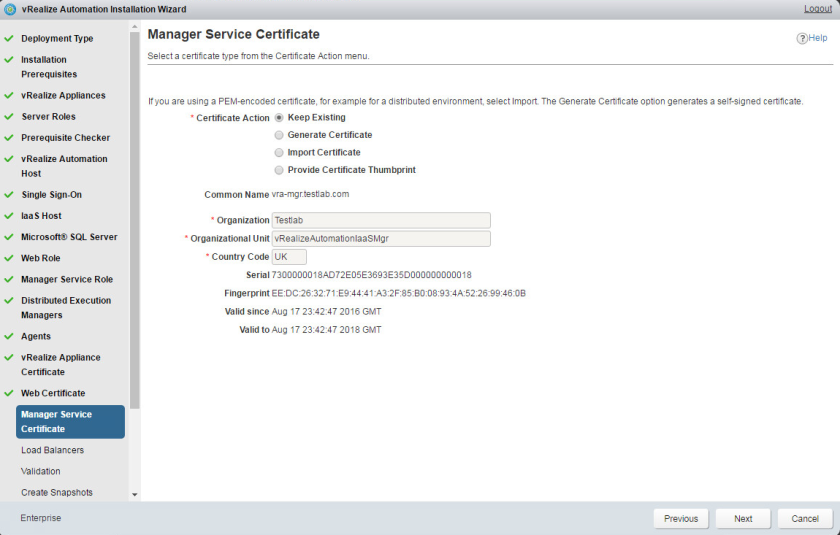
On the Manager Service Certificate page, select Import Certificate for the PEM-encoded certificate generated from a certificate authority for the vRealize Automation IaaS Manager Server hosts.
Open the vra-mgr.key file for your IaaS Manager Server hosts in a text editor and paste the contents of the file into the RSA Private Key text box.
Open the vra-mgr.pem file for your IaaS Manager Server hosts in a text editor and paste the contents into the Certificate Chain text box.
Enter the password used when generating the certificates into the Pass Phrase.
Click Save Imported Certificate.
Click Next to continue.
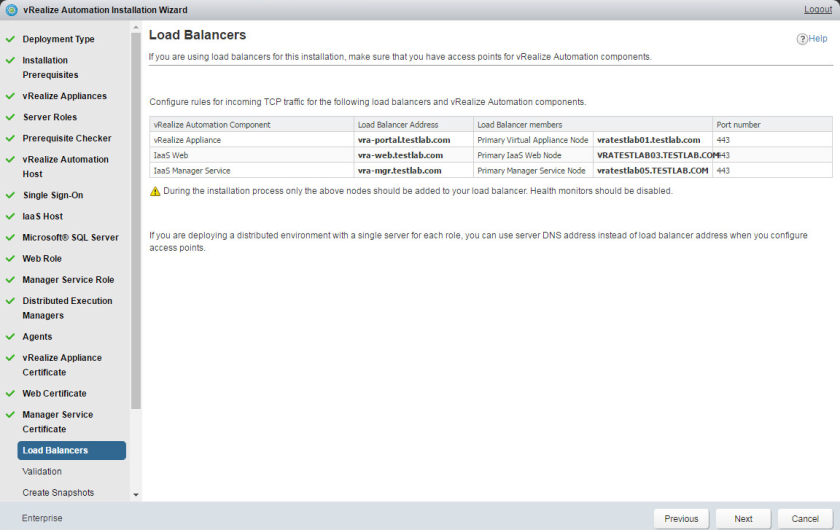
On the Load Balancers page, review the configuration of vRealize Automation components.
Verify the entries for Load Balancer Address and the Load Balancer members are correct.
Example load balancer addresses:
- vra-portal.testlab.com
- vra-web.testlab.com
- vra-mgr.testlab.com
Click Next to continue.
On the Validation page, click Validation.
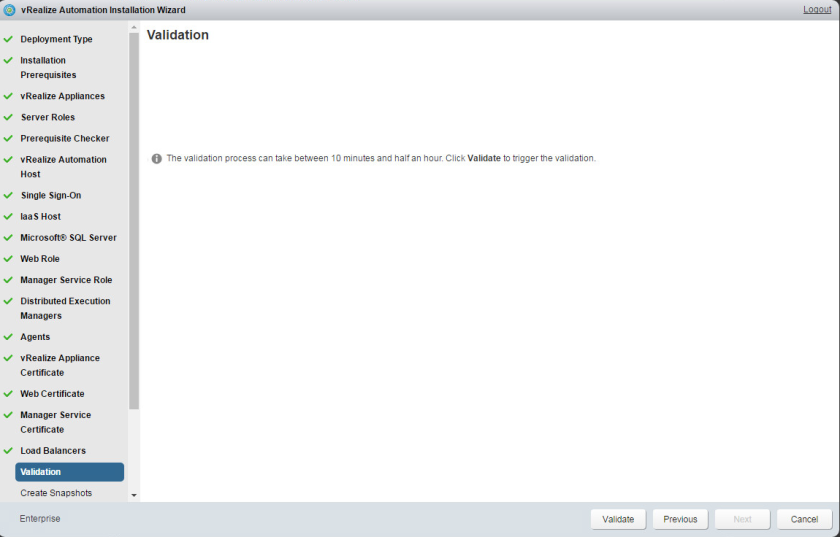
On the Validation page, the status is updated to reflect Validation is in progress.
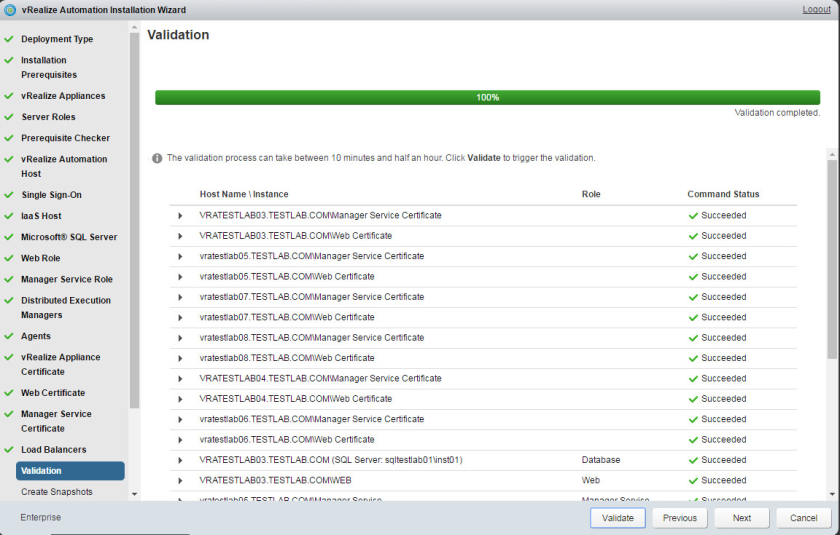
Wait for the validation to report status on each Host Name\Instance and change from Pending to Succeeded in the Command Status column.
Wait for all validation tests to report 100% with validation completed.
Note: If any of the Validation tasks fail, do not click Next until every problem is resolved. The validation can be run again after problems are corrected with each hostname or instance.
Click Next to continue.
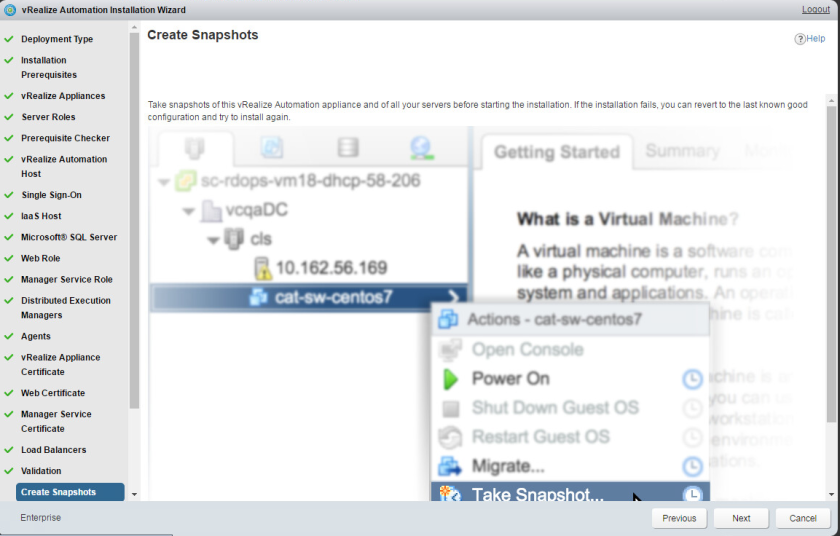
Next, within vCenter, create VM snapshots of all vRealize Automation appliances and IaaS Server hosts. Wait for the VM snapshots to complete before proceeding.
On the Create Snapshots page, click Next to continue.
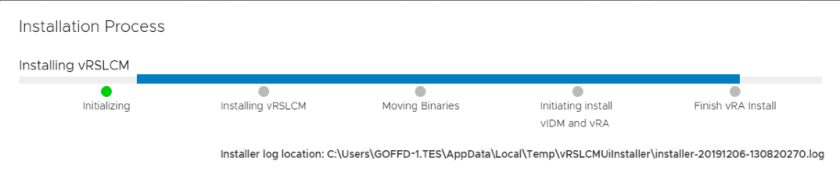
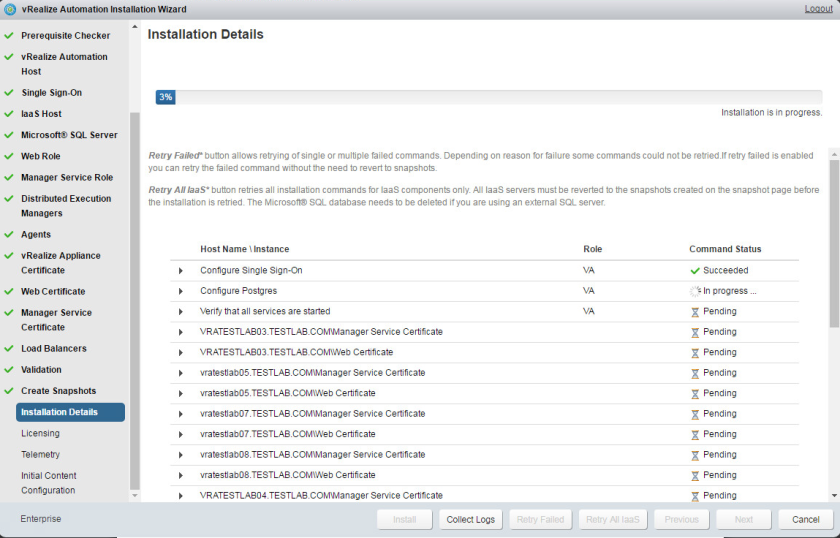
On the Installation Details page, click Install.
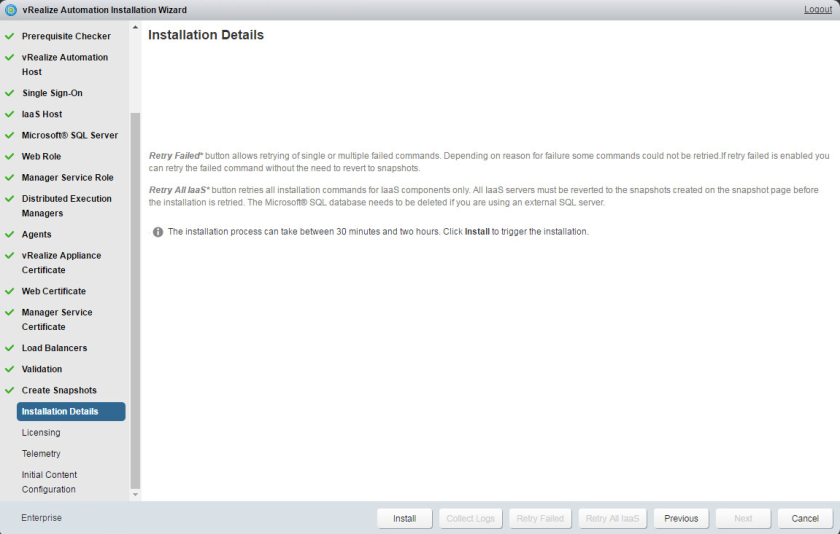
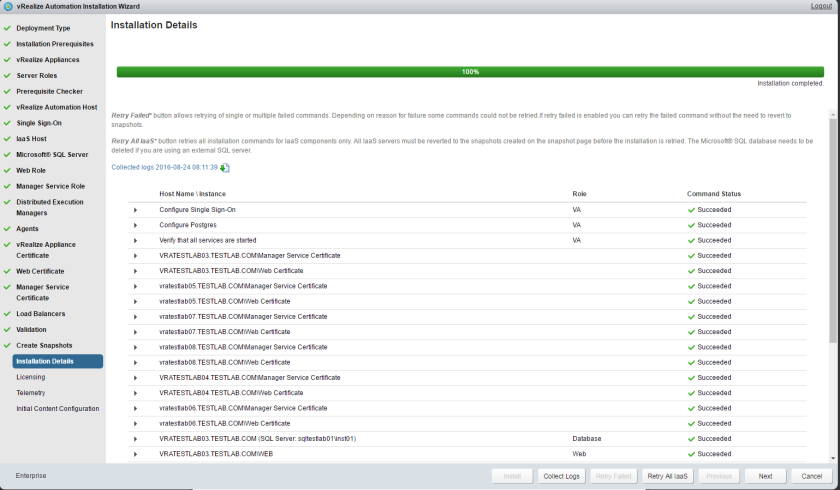
As the installation continues, the Installation Details page reports the status of the Installation in progress with the percentage complete.
After the installation is finished, click Next to continue.
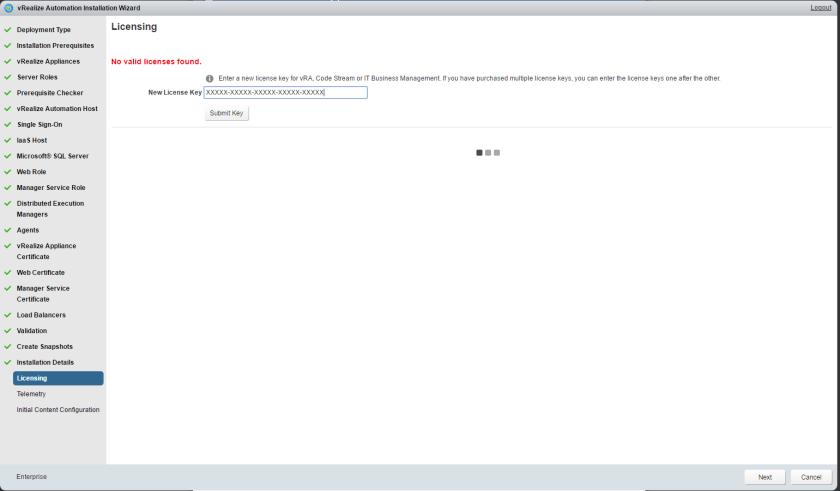
On the Licensing page:
Enter the New License Key: <license key>
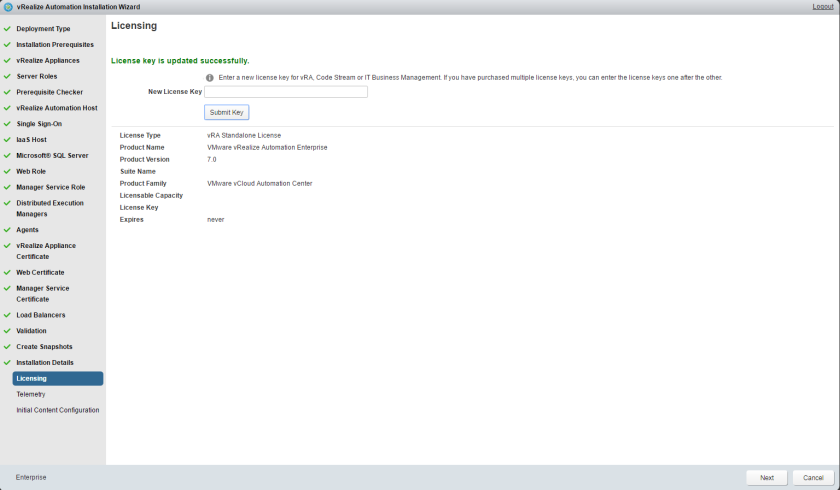
Click Submit Key.
Click Next to continue.
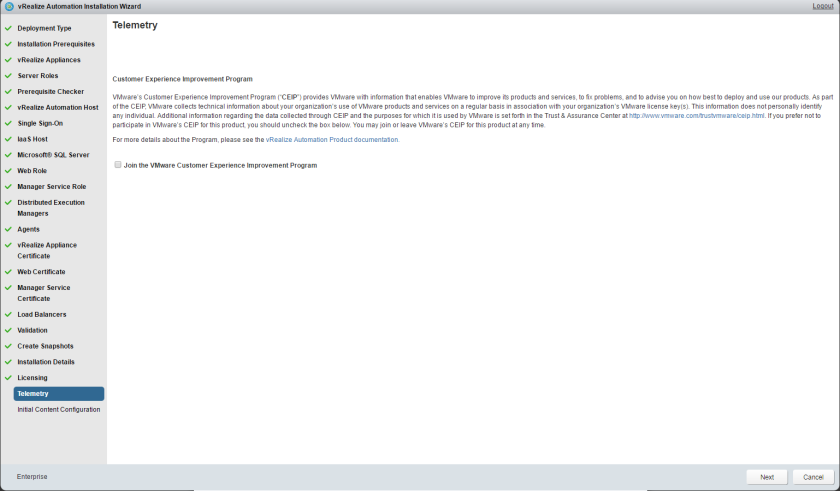
On the Telemetry page, select your option then click Next to continue.
On the Initial Content Configuration page, click Next to continue.
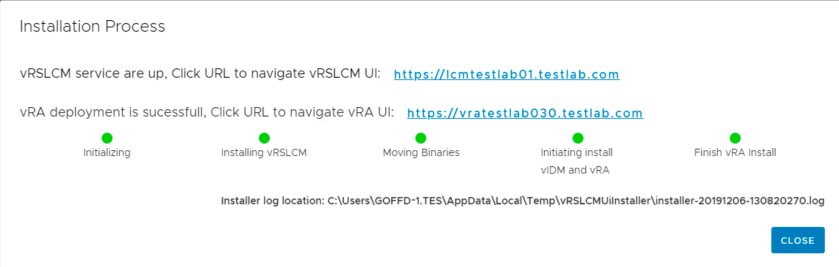
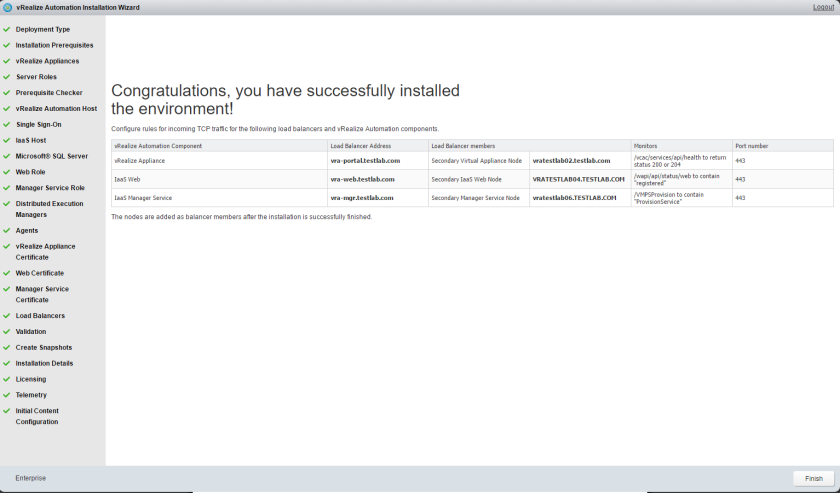
After the Installation Wizard reports that installation was successful, click Finish to complete the installation.
vRA 7 Deployment Validation
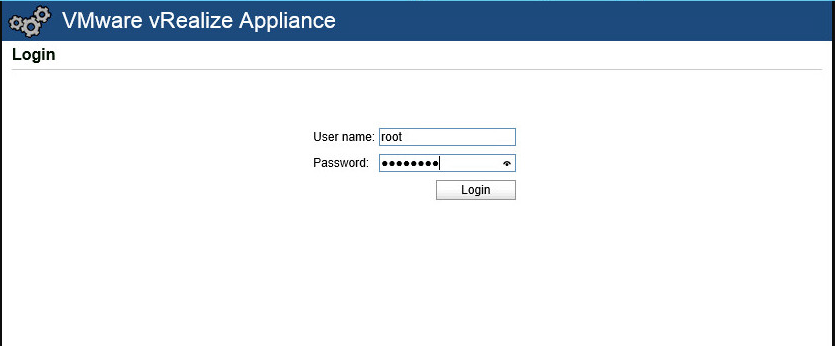
Once the installation has completed, connect to the primary vRA appliance VAMI to validate the configuration.
Log in using the user name root and the password you specified when you deployed the vRealize Automation appliance.
Click Login.
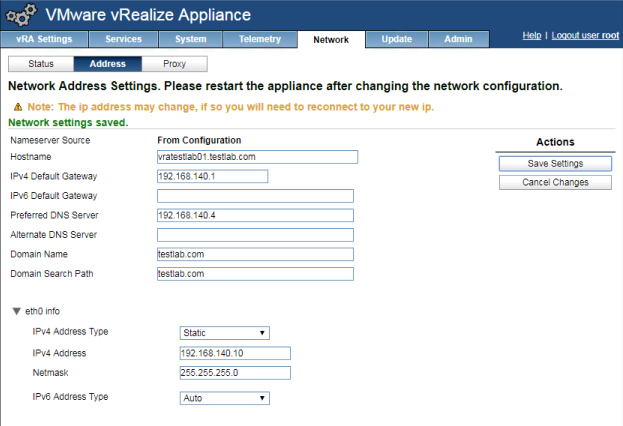
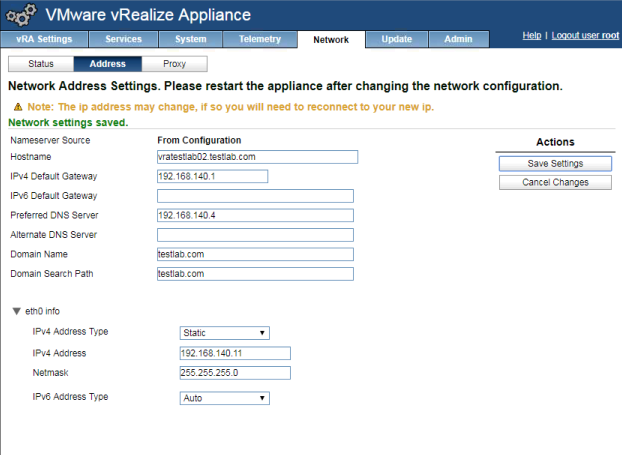
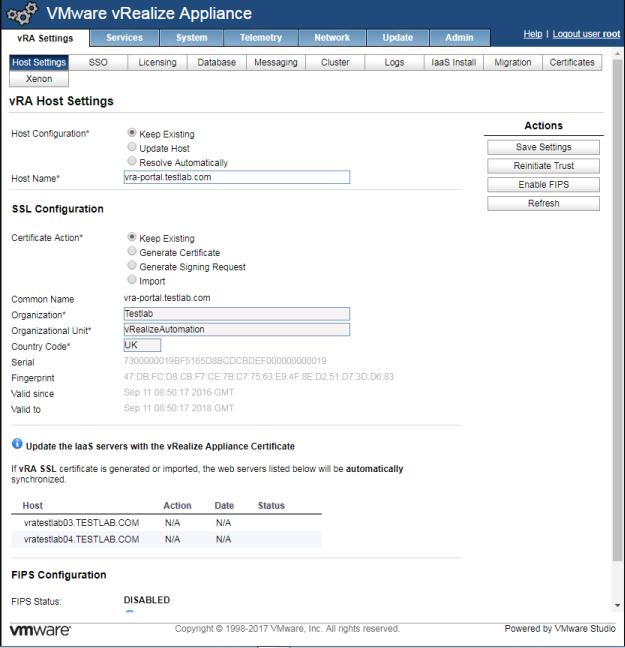
Navigate to vRA Settings > Host Settings and verify the configuration.
Verify the Host Name is set to the FQDN of the ViP DNS name.
Verify the SSL Configuration is using the imported certificate
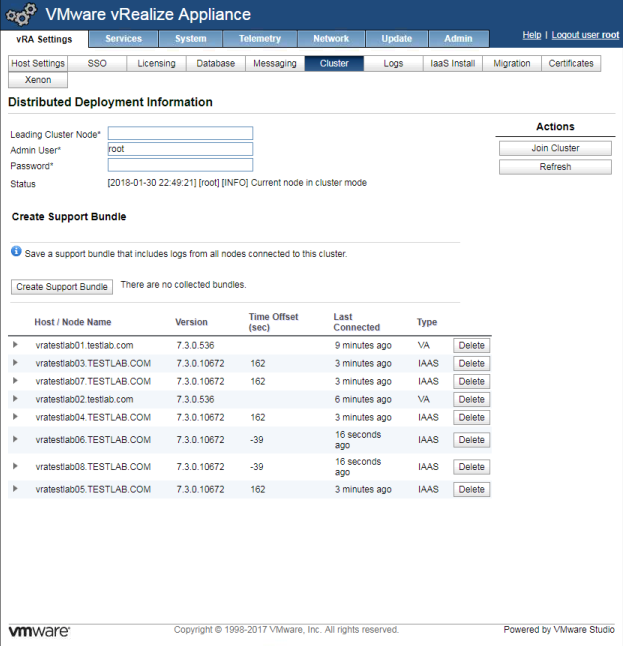
Navigate to vRA Settings > Cluster and verify the configuration. Expand the Host / Node Name to validate the roles assigned to each node.
Verify all nodes are in a healthy state by checking their Last Connected time from the VAMI of the primary vRA appliance
- Ensure the IaaS nodes have a last connected time of less than 30 seconds
- Ensure the vRA appliances have a last connected time of less than 10 minutes
- Note: The screenshot is from my vRA 7.3 environment

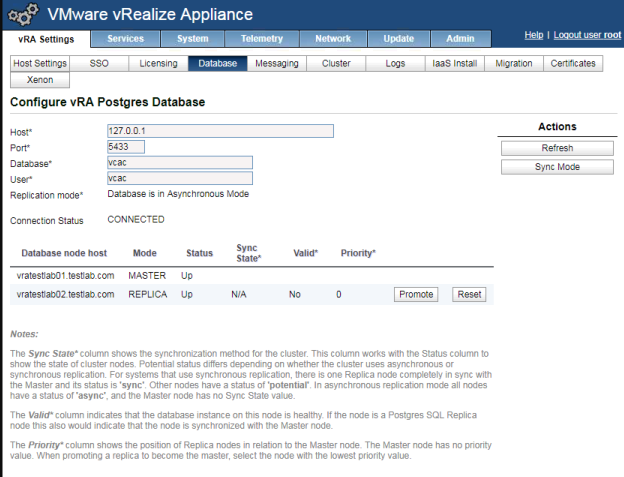
Navigate to vRA Settings > Database and verify the configuration.
Ensure the replication mode is Asynchronous
Check the Connection Status is CONNECTED
Verify the primary vRA appliance is the MASTER node and the secondary vRA appliance is the REPLICA node.
Ensure both Postgres DB nodes have a status of Up

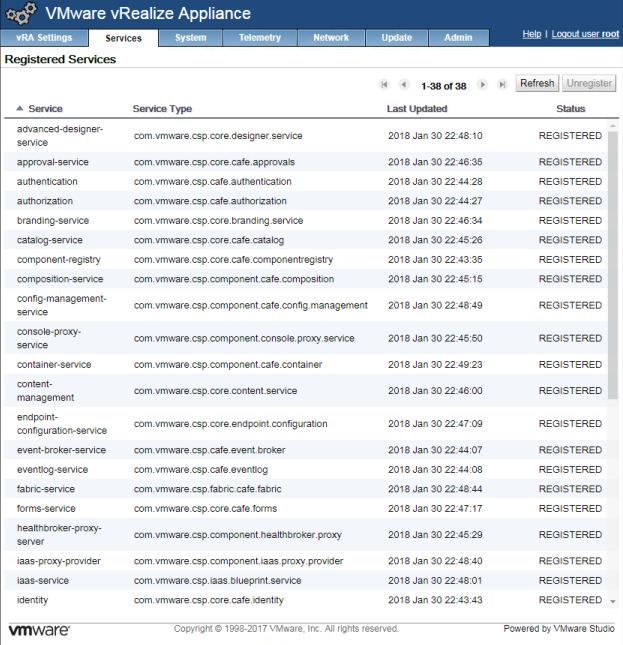
Navigate to Services and confirm all services have a status of REGISTERED.
This concludes part 5 of this vRealize Automation Enterprise installation series and vRealize Automation is now installed. I will continue with the vRA 7 series, where we can now start configuring the post vRA 7 deployment elements.