In part 1 of this blog post, I demonstrated the impact of configuring vRA Directories Management using IWA in a disjointed namespace. In this blog post, I will now cover the procedure to remediate and recover vRA to an operational state.
The high level steps required to remediate vRA are listed in order below:
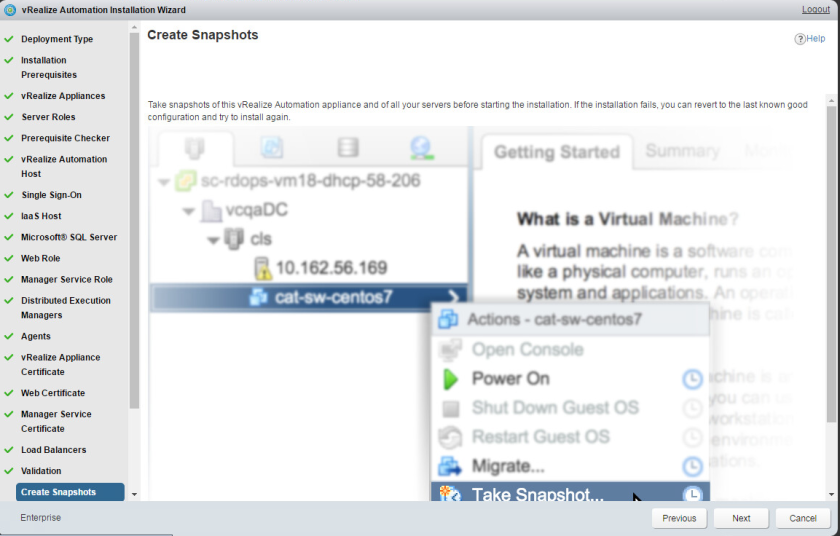
- Take a snapshot of all vRA nodes
- Change the Master vRealize Automation Appliance Host Name – Change the Master vRA Appliance Host Name
- Change a Replica vRealize Automation Appliance Host Name – (if applicable) (on all replica nodes) – Change a Replica vRA Appliance Host Name
- Reset RabbitMQ cluster from the primary vRA appliance VAMI – Reset RabbitMQ
- Re-install the vRA IaaS management agents on each vRA IaaS node
I will assume readers of this blog know how to take a snapshot of all the vRA nodes and detail from step 2 onwards.
Change the Master vRealize Automation Appliance Host Name
Ensure your DNS A and PTR records are updated if required. In my use case, I did not need to update any DNS records.
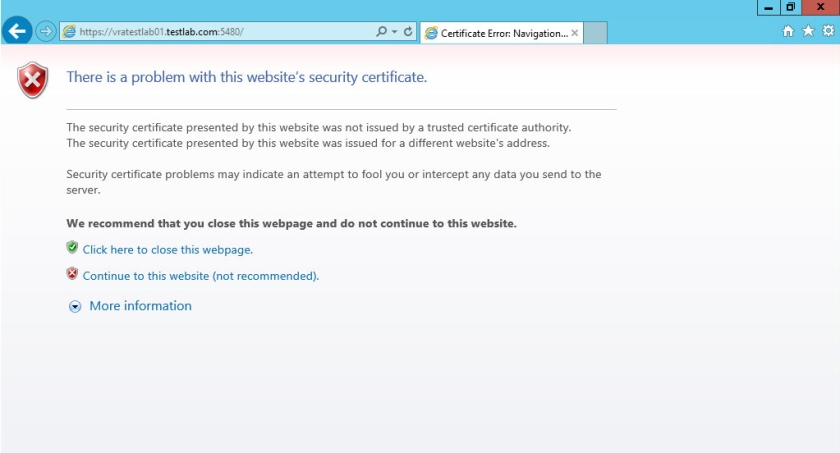
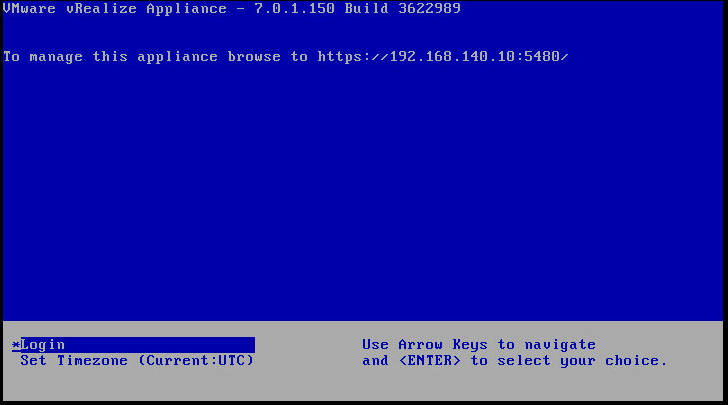
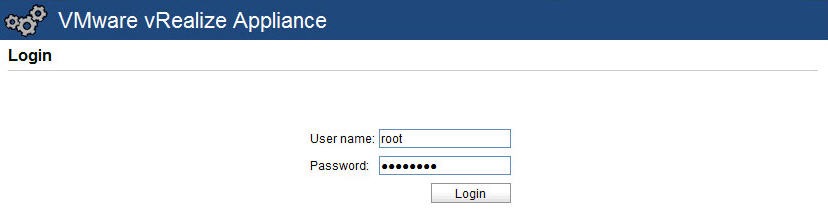
Go to the vRealize Automation master appliance management console by opening a connection using its FQDN:
Example: https://vratestlab01.testlab.com:5480/
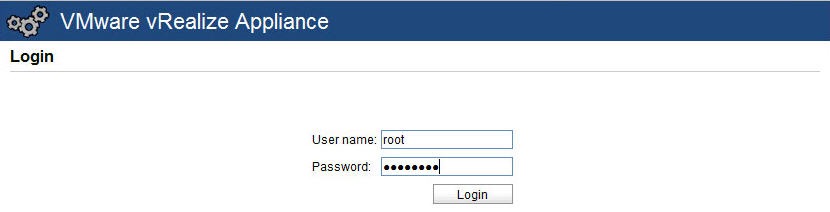
Log in with the root username and password.

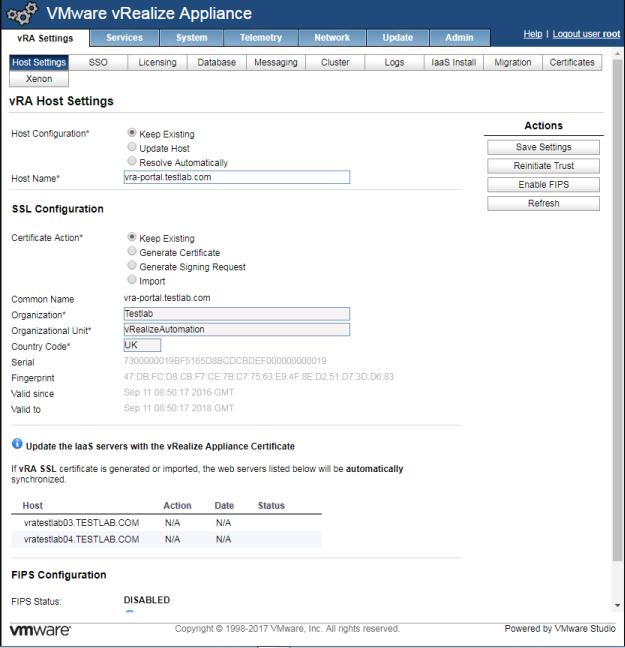
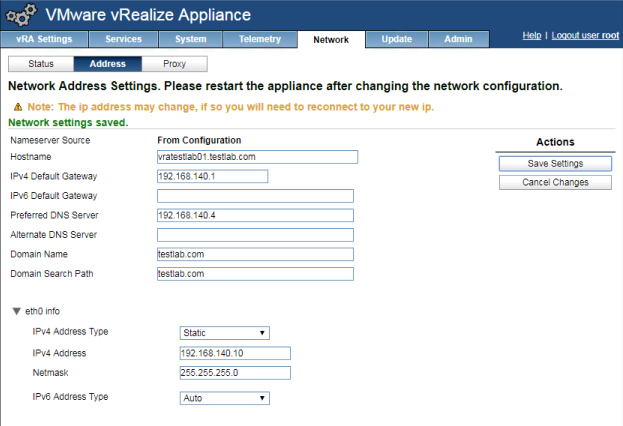
Select Network > Address and enter the required FQDN of the master vRA appliance in the hostname field
Click Save Settings
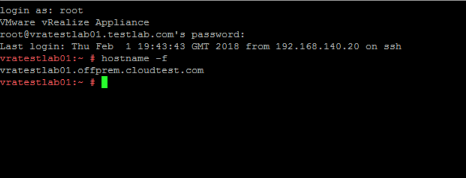
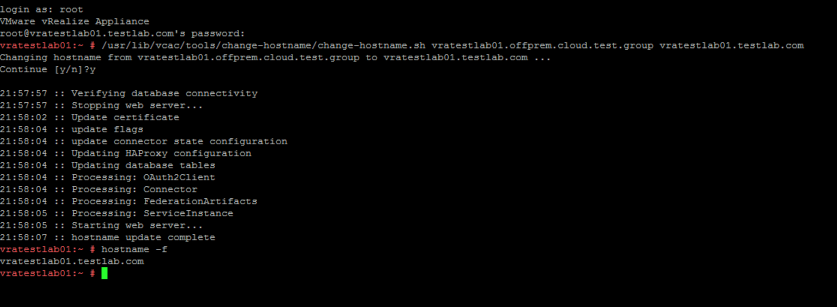
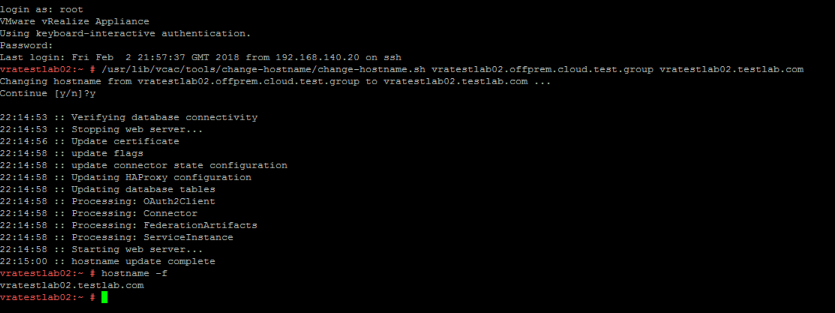
Logon to the console of the master vRA Appliance and run the following script:
/usr/lib/vcac/tools/change-hostname/change-hostname.sh old-master-FQDN new-master-FQDN
Example:
/usr/lib/vcac/tools/change-hostname/change-hostname.sh vratestlab01.offprem.cloud.test.group vratestlab01.testlab.com
Validate the hostname change by entering hostname -f after the script completes
Logon to the console of all replica vRA Appliance and run the following script:
Note: This script is only executed on all replica nodes and not the master/primary node.
sed -i “s/old-master-FQDN/new-master-FQDN/g” “/etc/haproxy/conf.d/10-psql.cfg” “/etc/haproxy/conf.d/20-vcac.cfg”
Example:
sed -i “s/vratestlab01.offprem.cloud.test.group/vratestlab01.testlab.com/g” “/etc/haproxy/conf.d/10-psql.cfg” “/etc/haproxy/conf.d/20-vcac.cfg”

Change a Replica vRealize Automation Appliance Host Name
Ensure your DNS A and PTR records are updated if required. In my use case, I did not need to update any DNS records.
Go to the vRealize Automation replica appliance management console by opening a connection using its FQDN:
Example: https://vratestlab02.testlab.com:5480/
Log in with the root username and password.

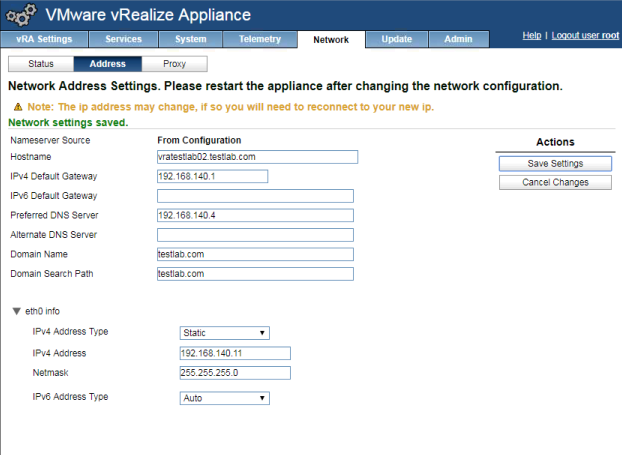
Select Network > Address and enter the required FQDN of the replica vRA appliance in the hostname field
Click Save Settings
Logon to the console of the replica vRA Appliance and run the following script:
/usr/lib/vcac/tools/change-hostname/change-hostname.sh old-replica-FQDN new-replica-FQDN
Example:
/usr/lib/vcac/tools/change-hostname/change-hostname.sh vratestlab02.offprem.cloud.test.group vratestlab02.testlab.com
Validate the hostname change by entering hostname -f after the script completes
Logon to the console of all other vRA Appliances in the cluster, including the master and run the following script:
sed -i “s/old-replica-FQDN/new-replica-FQDN/g” “/etc/haproxy/conf.d/10-psql.cfg” “/etc/haproxy/conf.d/20-vcac.cfg”
Example:
sed -i “s/vratestlab02.offprem.cloud.test.group/vratestlab02.testlab.com/g” “/etc/haproxy/conf.d/10-psql.cfg” “/etc/haproxy/conf.d/20-vcac.cfg”

Reset RabbitMQ Cluster
Go to the vRealize Automation master appliance management console by opening a connection using its FQDN:
Example: https://vratestlab01.testlab.com:5480/
Log in with the root username and password.
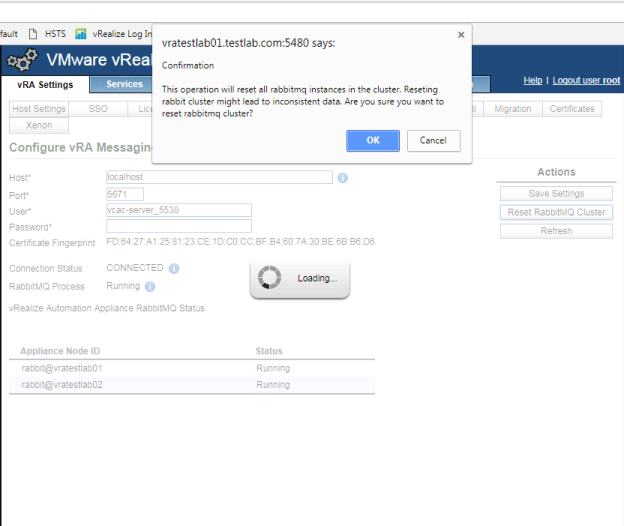
Select vRA Settings > Messaging
Click Reset RabbitMQ Cluster
Click OK to confirm
Restart the master vRealize Automation appliance.
Restart all replica vRealize Automation appliances, one at a time.
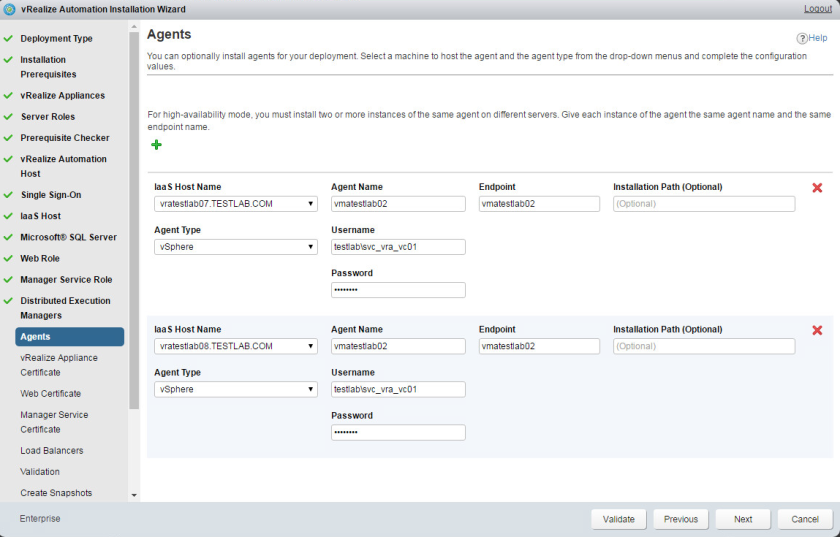
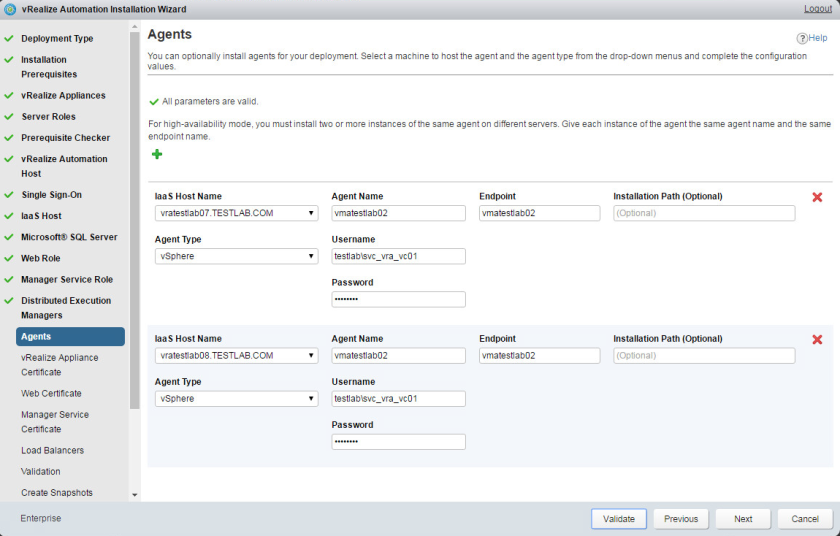
Re-install the vRA IaaS management agents on each vRA IaaS node
Logon to the first vRA IaaS node and open a browser.
Navigate to the vRealize Automation IaaS Installation page at https://<vra-appliance-fqdn>:5480/installer
Click Management Agent Installer
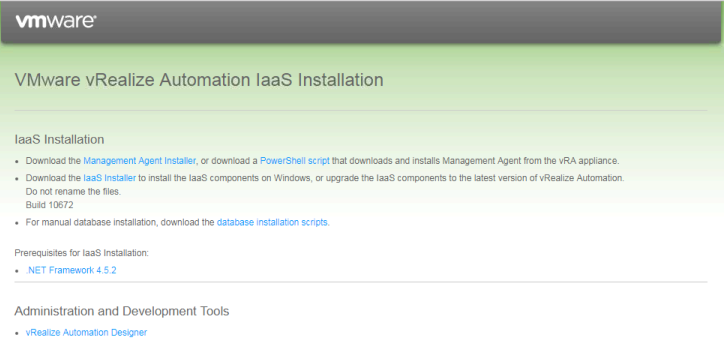
Browse to the local directory where you saved the installer, on the IaaS node.
Note: You will need to uninstall the vRA IaaS Management Agent first.
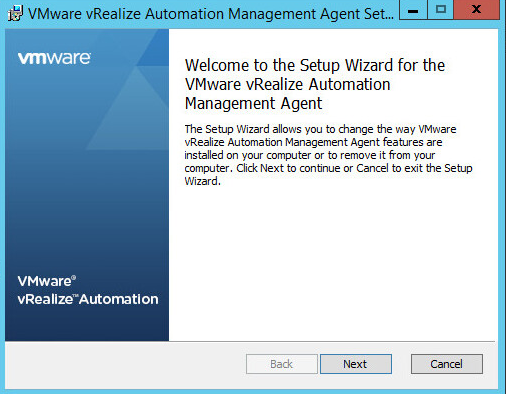
Right click on the vCAC-IaaSManagementAgent-Setup.msi file and select Install.
When the setup wizard opens, click Next.
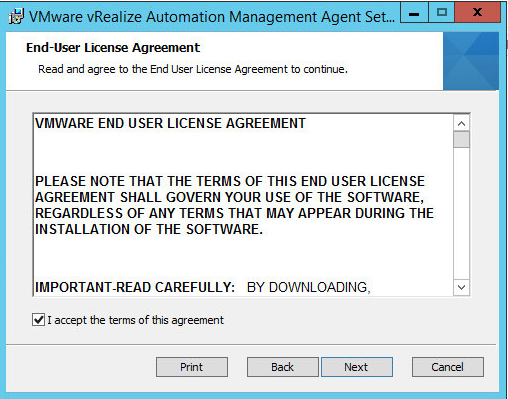
On the End-User License Agreement screen of the Management Agent Setup Wizard, check the box I accept the terms of this agreement.
Click Next.
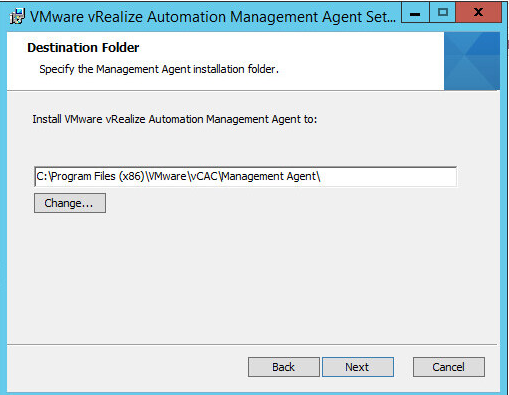
On the Destination Folder screen, select a destination folder by clicking Change, or accept the default installation path.
Click Next.
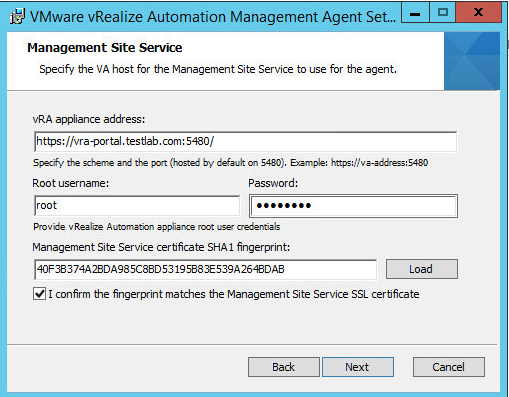
On the Management Site Service screen:
In the vRA appliance load balancer address text box, specify the vRealize Automation appliance URL, for example: <https://vra-portal.testlab.com:5480>
In the Root username text box, enter the vRealize Automation appliance username <root>.
In the Password text box, enter the vRealize Automation appliance <password>.
In the Management Site Service certificate SHA1 fingerprint text box, click Load.
Select the I confirm the fingerprint matches the Management Site SSL Certificate check box.
Click Next.

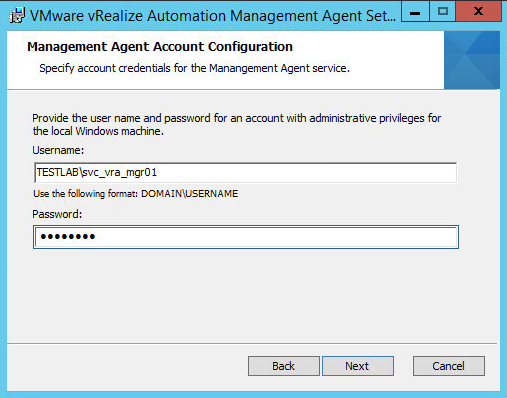
Enter the AD domain service account details for the vRA Management Agent, for example, testlab\svc_vra_mgr01
Enter the password for the AD service account
Click Next.

Click Install
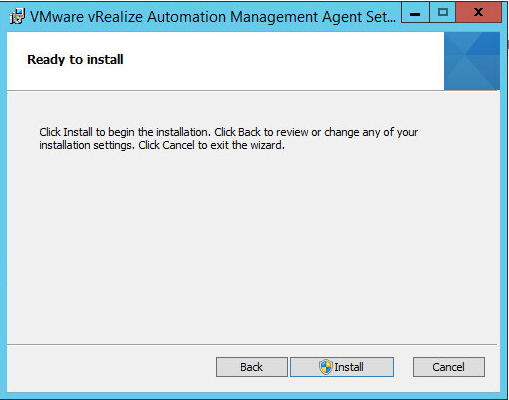
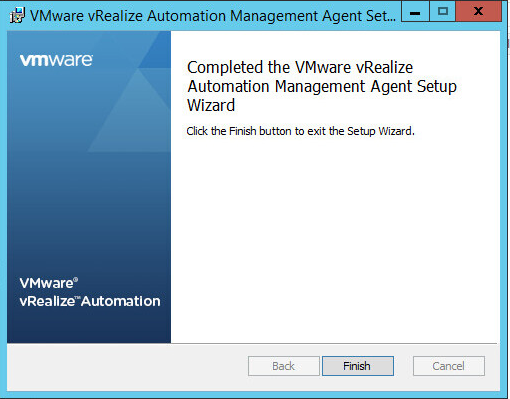
Once the installation has completed successfully, click Finish to exit the Management Agent installation wizard.
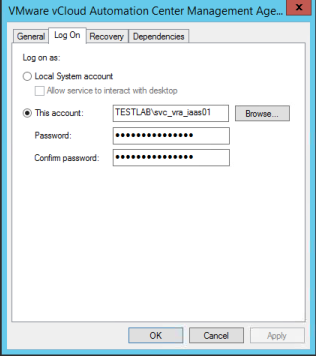
Verify the VMware vRealize Automation Management Agent is running on the primary IaaS Web Server in Server Manager by going to Tools > Computer Management > Services.
Verify the Logon as Service account is configured to use the vRealize Automation Service Account, for example, testlab\svc_vra_iaas01.

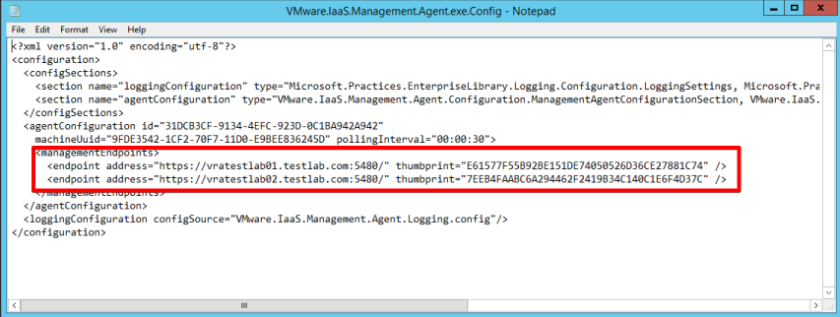
Verify the vRealize Automation Management agents config file is updated to the changed FQDN for the vRealize Automation appliance nodes in the deployment.
The file is located at: <install_path>\VMware\vCAC\Management Agent\VMware.IaaS.Management.Agent.exe.Config
Re-install the vRA IaaS Management agents on all remaining vRA IaaS nodes, verifying the endpoint addresses are updated to the required FQDN on each node.
Go to the vRealize Automation master appliance management console by opening a connection using its FQDN: https://vratestlab01.testlab.com:5480/
Log in with the root username and password.
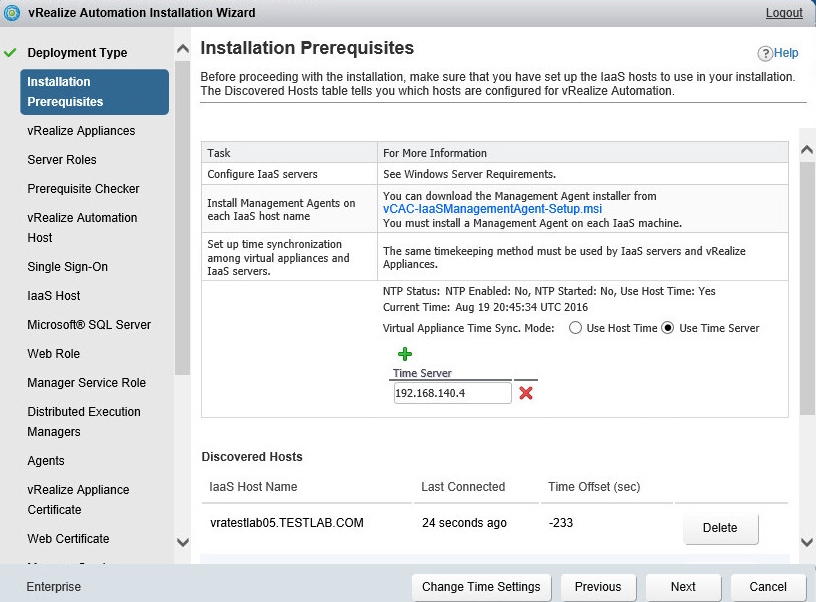
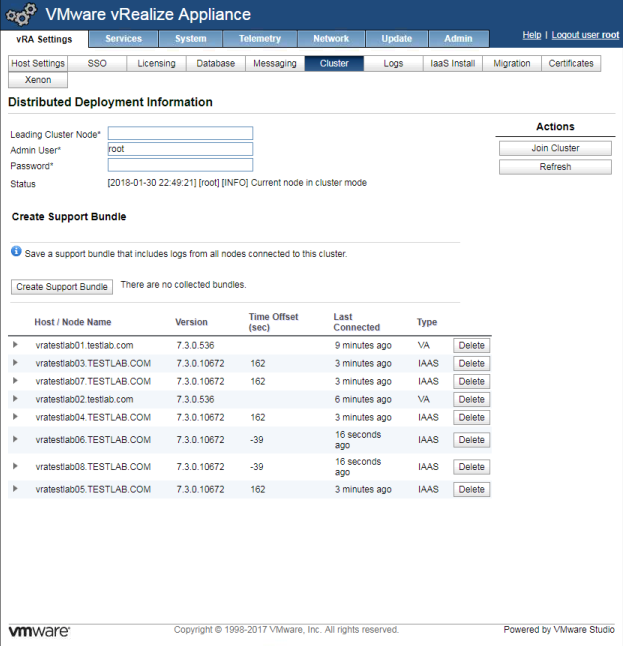
Navigate to vRA Settings > Cluster and verify the configuration. Expand the Host / Node Name to validate the roles assigned to each node.
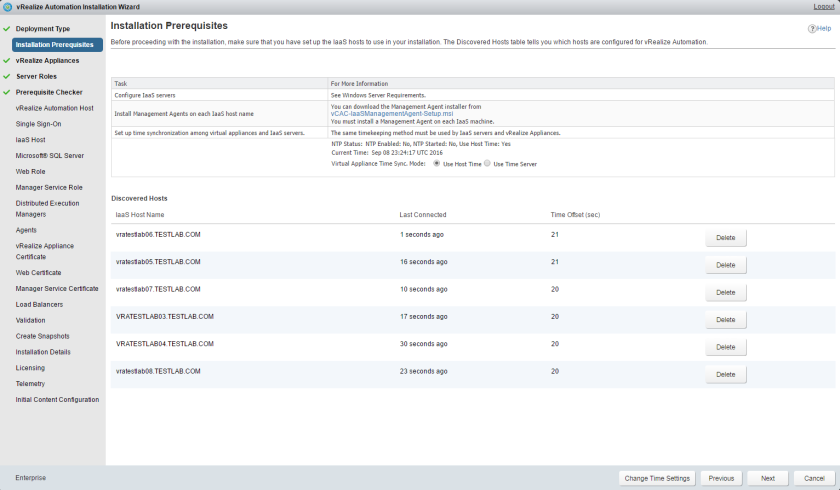
Verify all nodes now appear are in a healthy state by checking their Last Connected time from the VAMI of the primary vRA appliance
- Ensure the IaaS nodes have a last connected time of less than 30 seconds
- Ensure the vRA appliances have a last connected time of less than 10 minutes
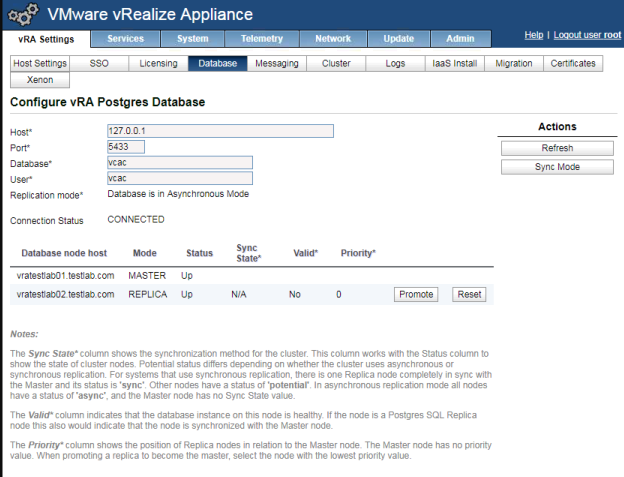
Navigate to vRA Settings > Database and verify the configuration.
Ensure the replication mode is Asynchronous
Check the Connection Status is CONNECTED
Verify the primary vRA appliance is the MASTER node and the secondary vRA appliance is the REPLICA node.
Ensure both Postgres DB nodes have a status of Up
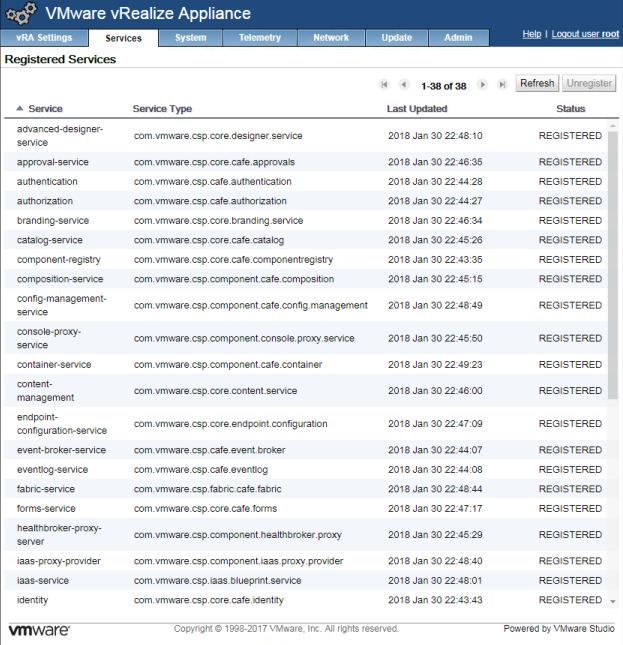
Navigate to Services and confirm all services have a status of REGISTERED.
Note: Verify the vRA Appliance services on all vRA nodes.
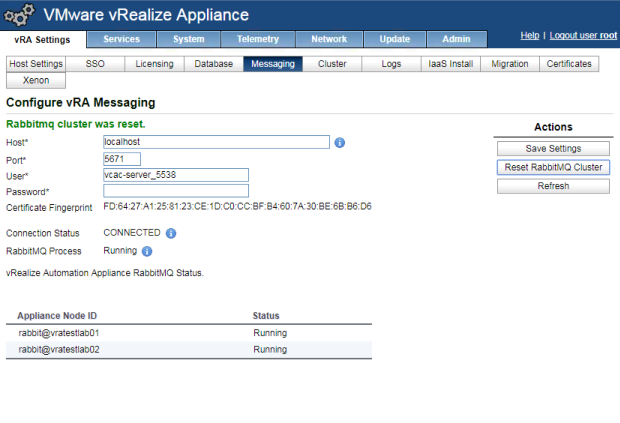
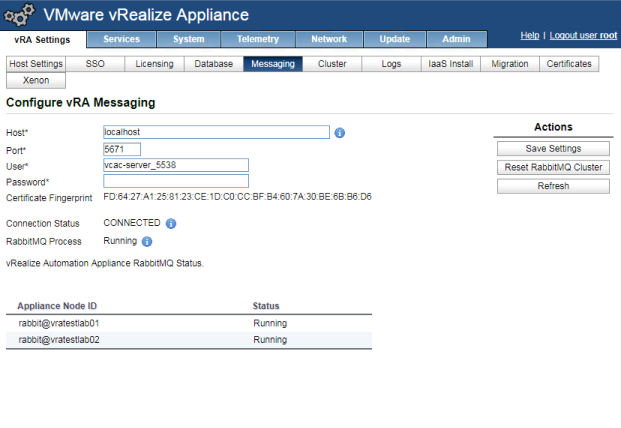
Navigate to vRA Settings > Messaging
Verify the Connection Status is CONNECTED
Verify the RabbitMQ Process is Running
Verify the status of the RabbitMQ Cluster and all nodes are Connected
Note: Reset the RabbitMQ Cluster from the master vRA Appliance if you have errors.
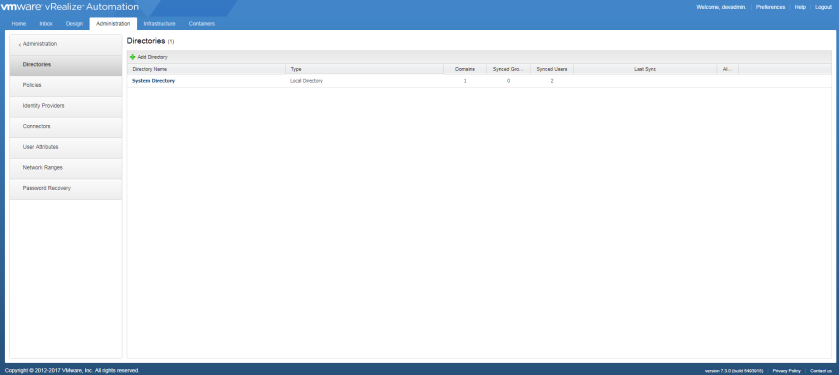
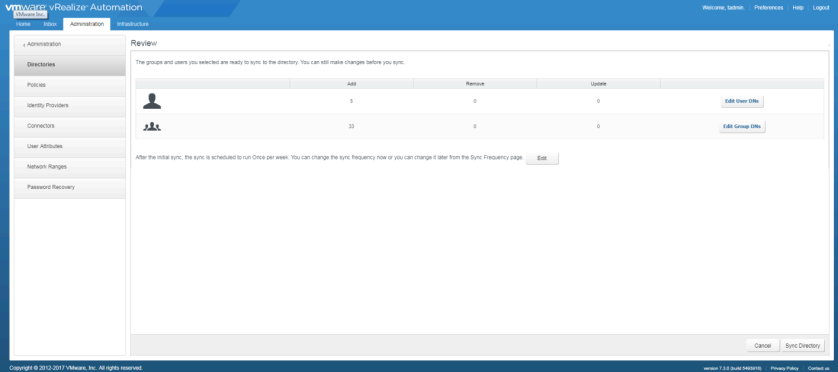
Login to the vRA portal, navigate to Administration > Directories Management > Directories
Verify directory synchronisation is now successful.
Verify you are now able to login to the vRA portal with an Active Directory account.

This concludes the blog post and whilst I appreciate this may be a corner case, hopefully, you have found this information useful. I’m expecting the public VMware documentation to updated for this use case, although, there are not any guarantees.